
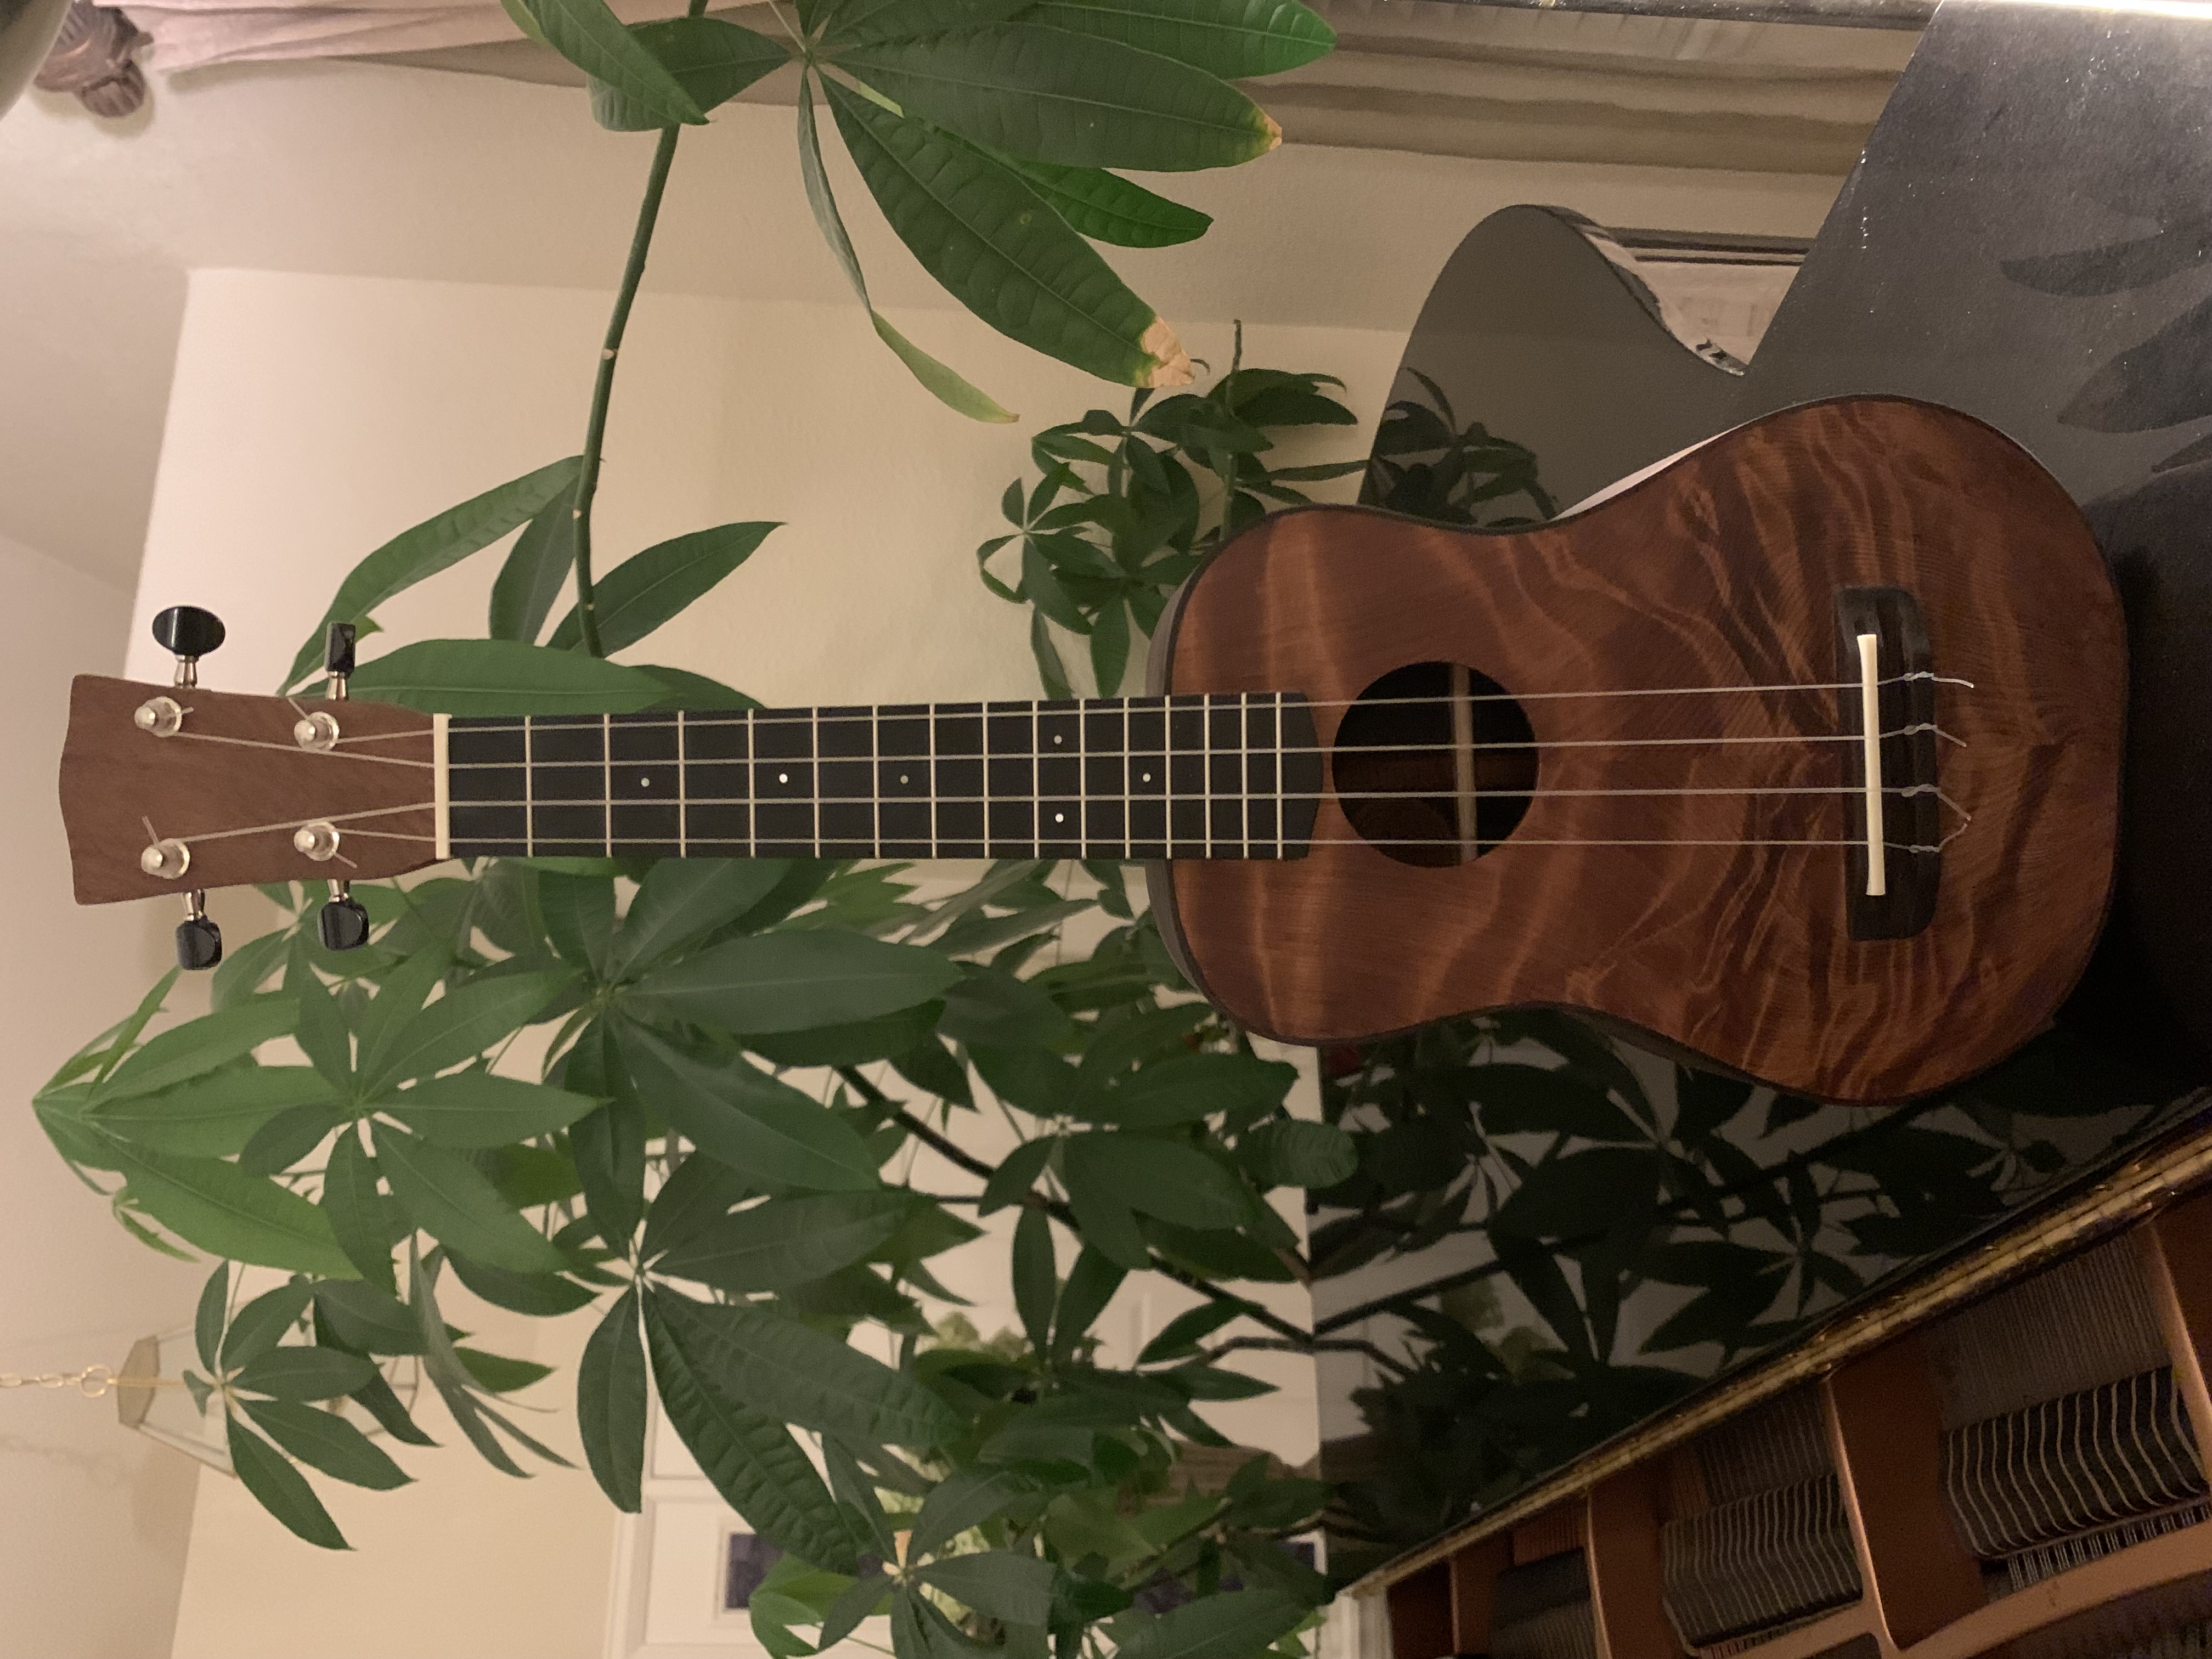
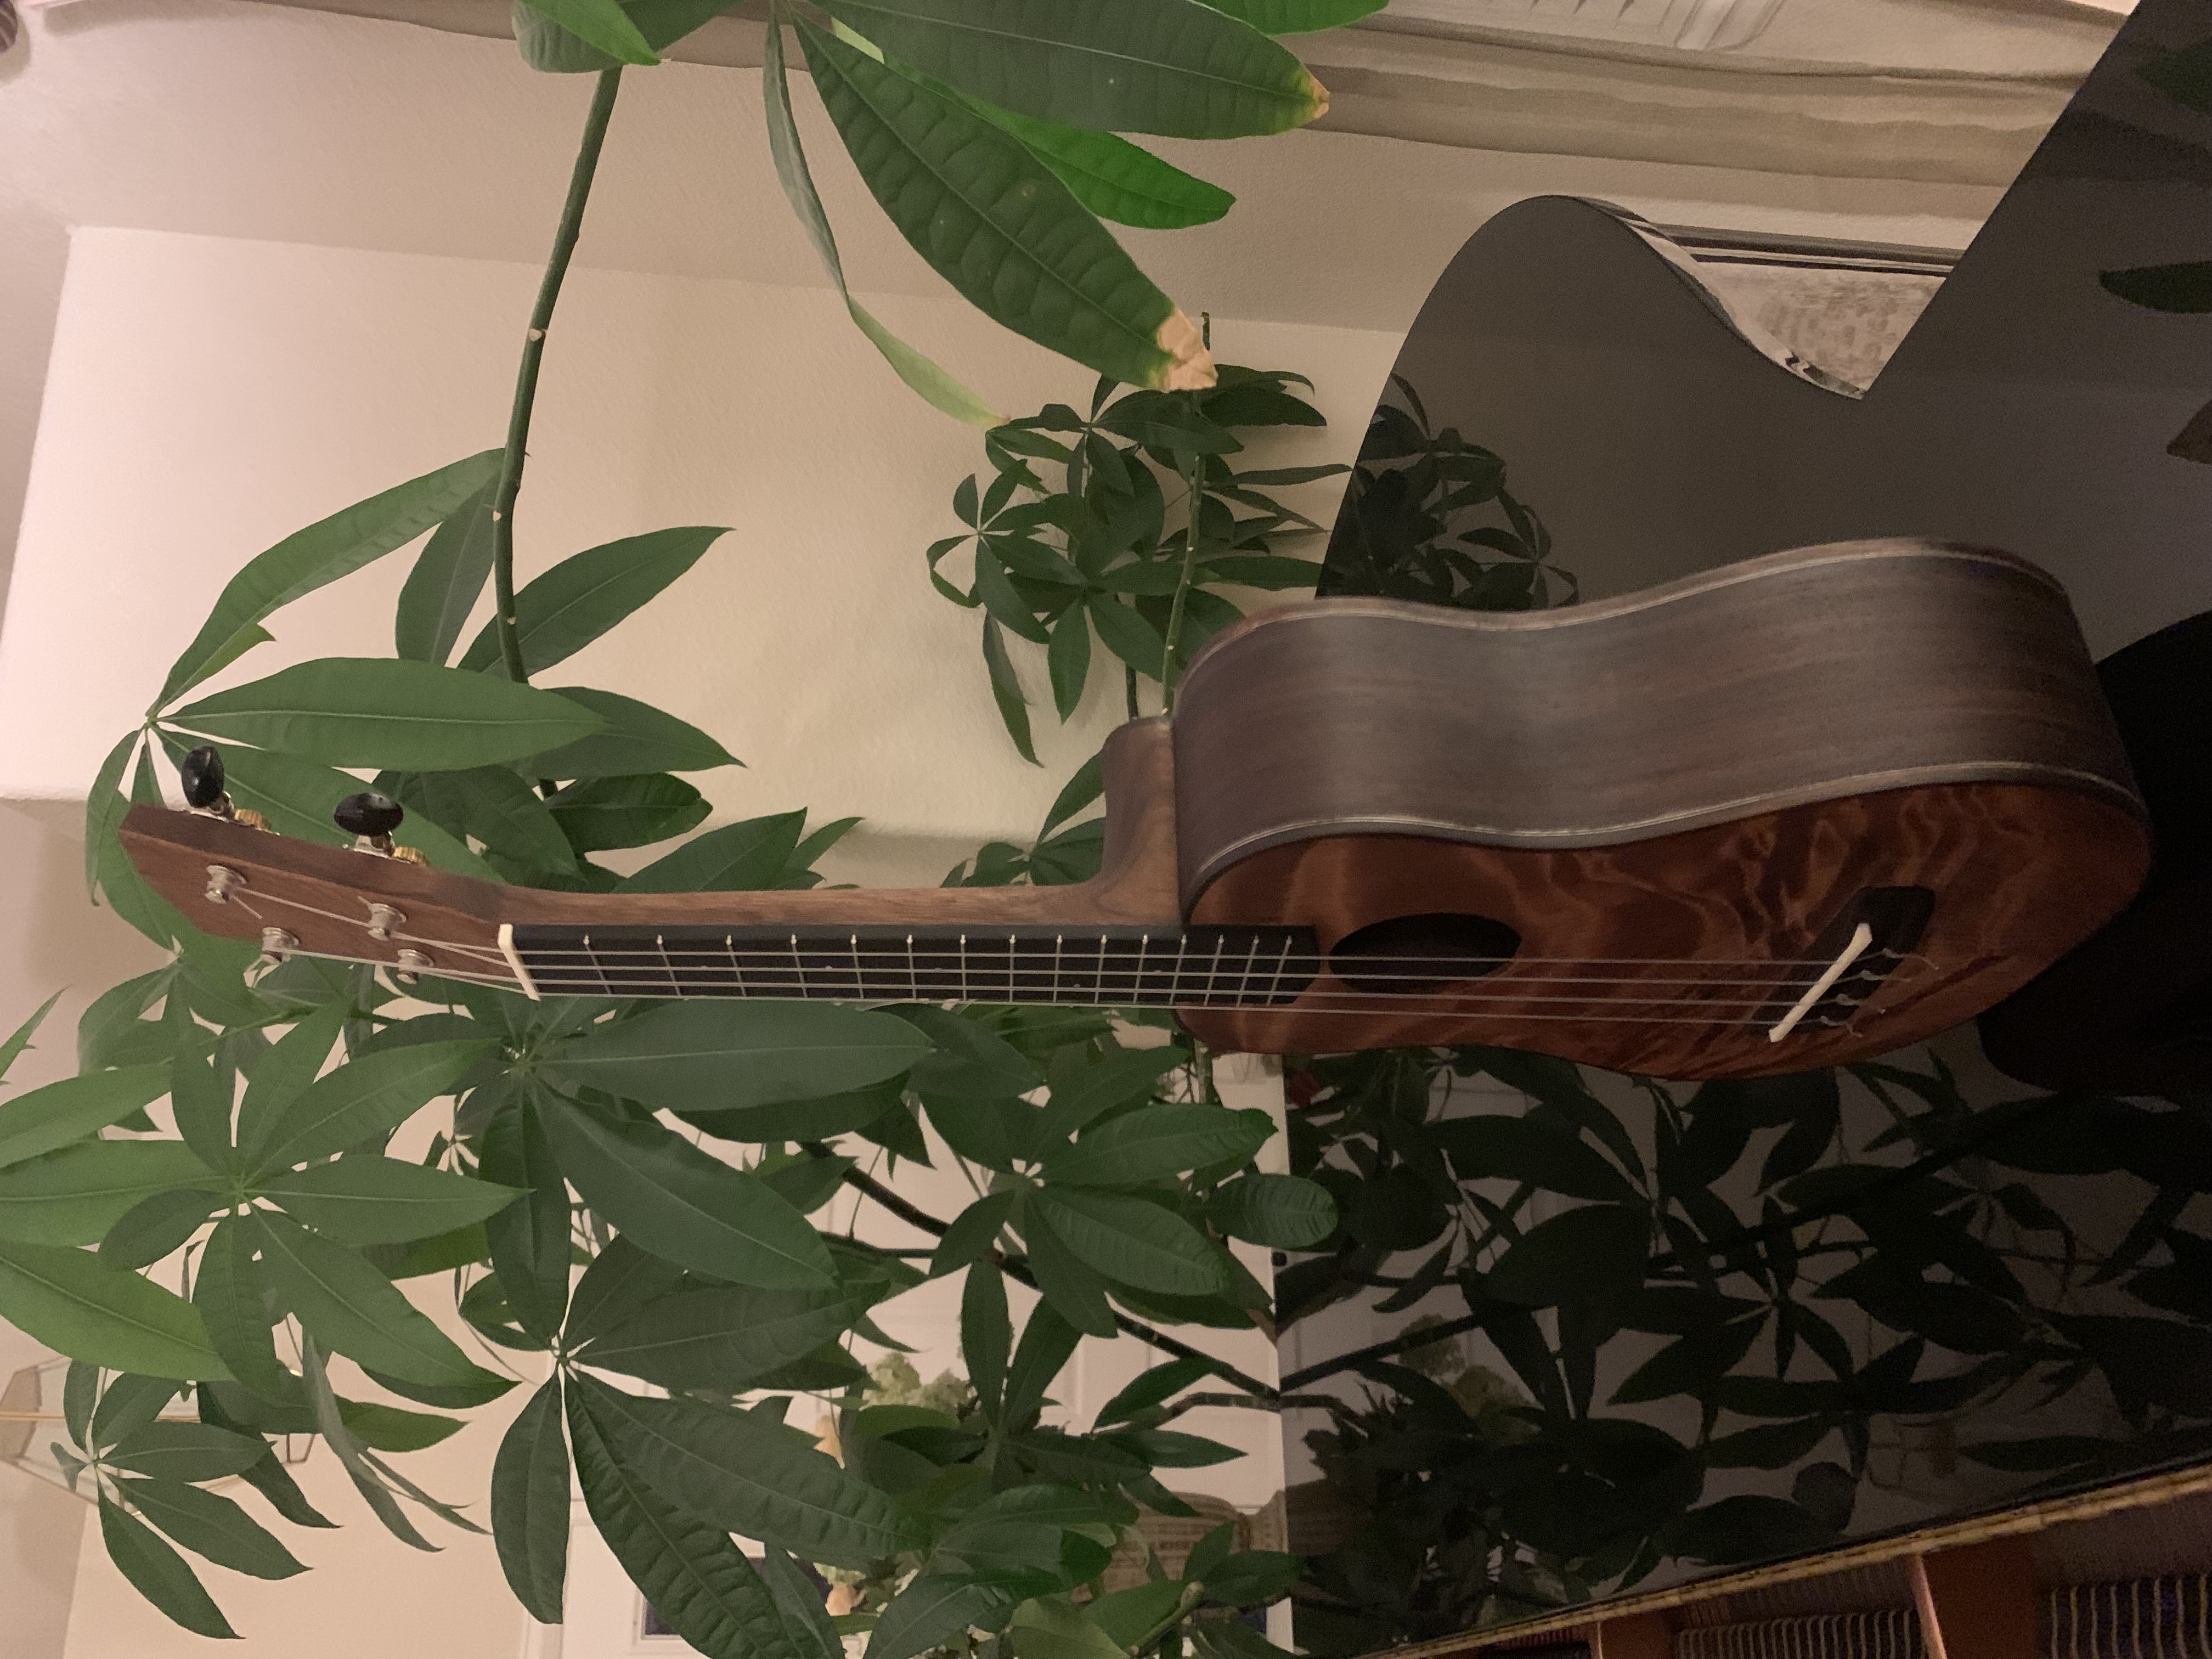
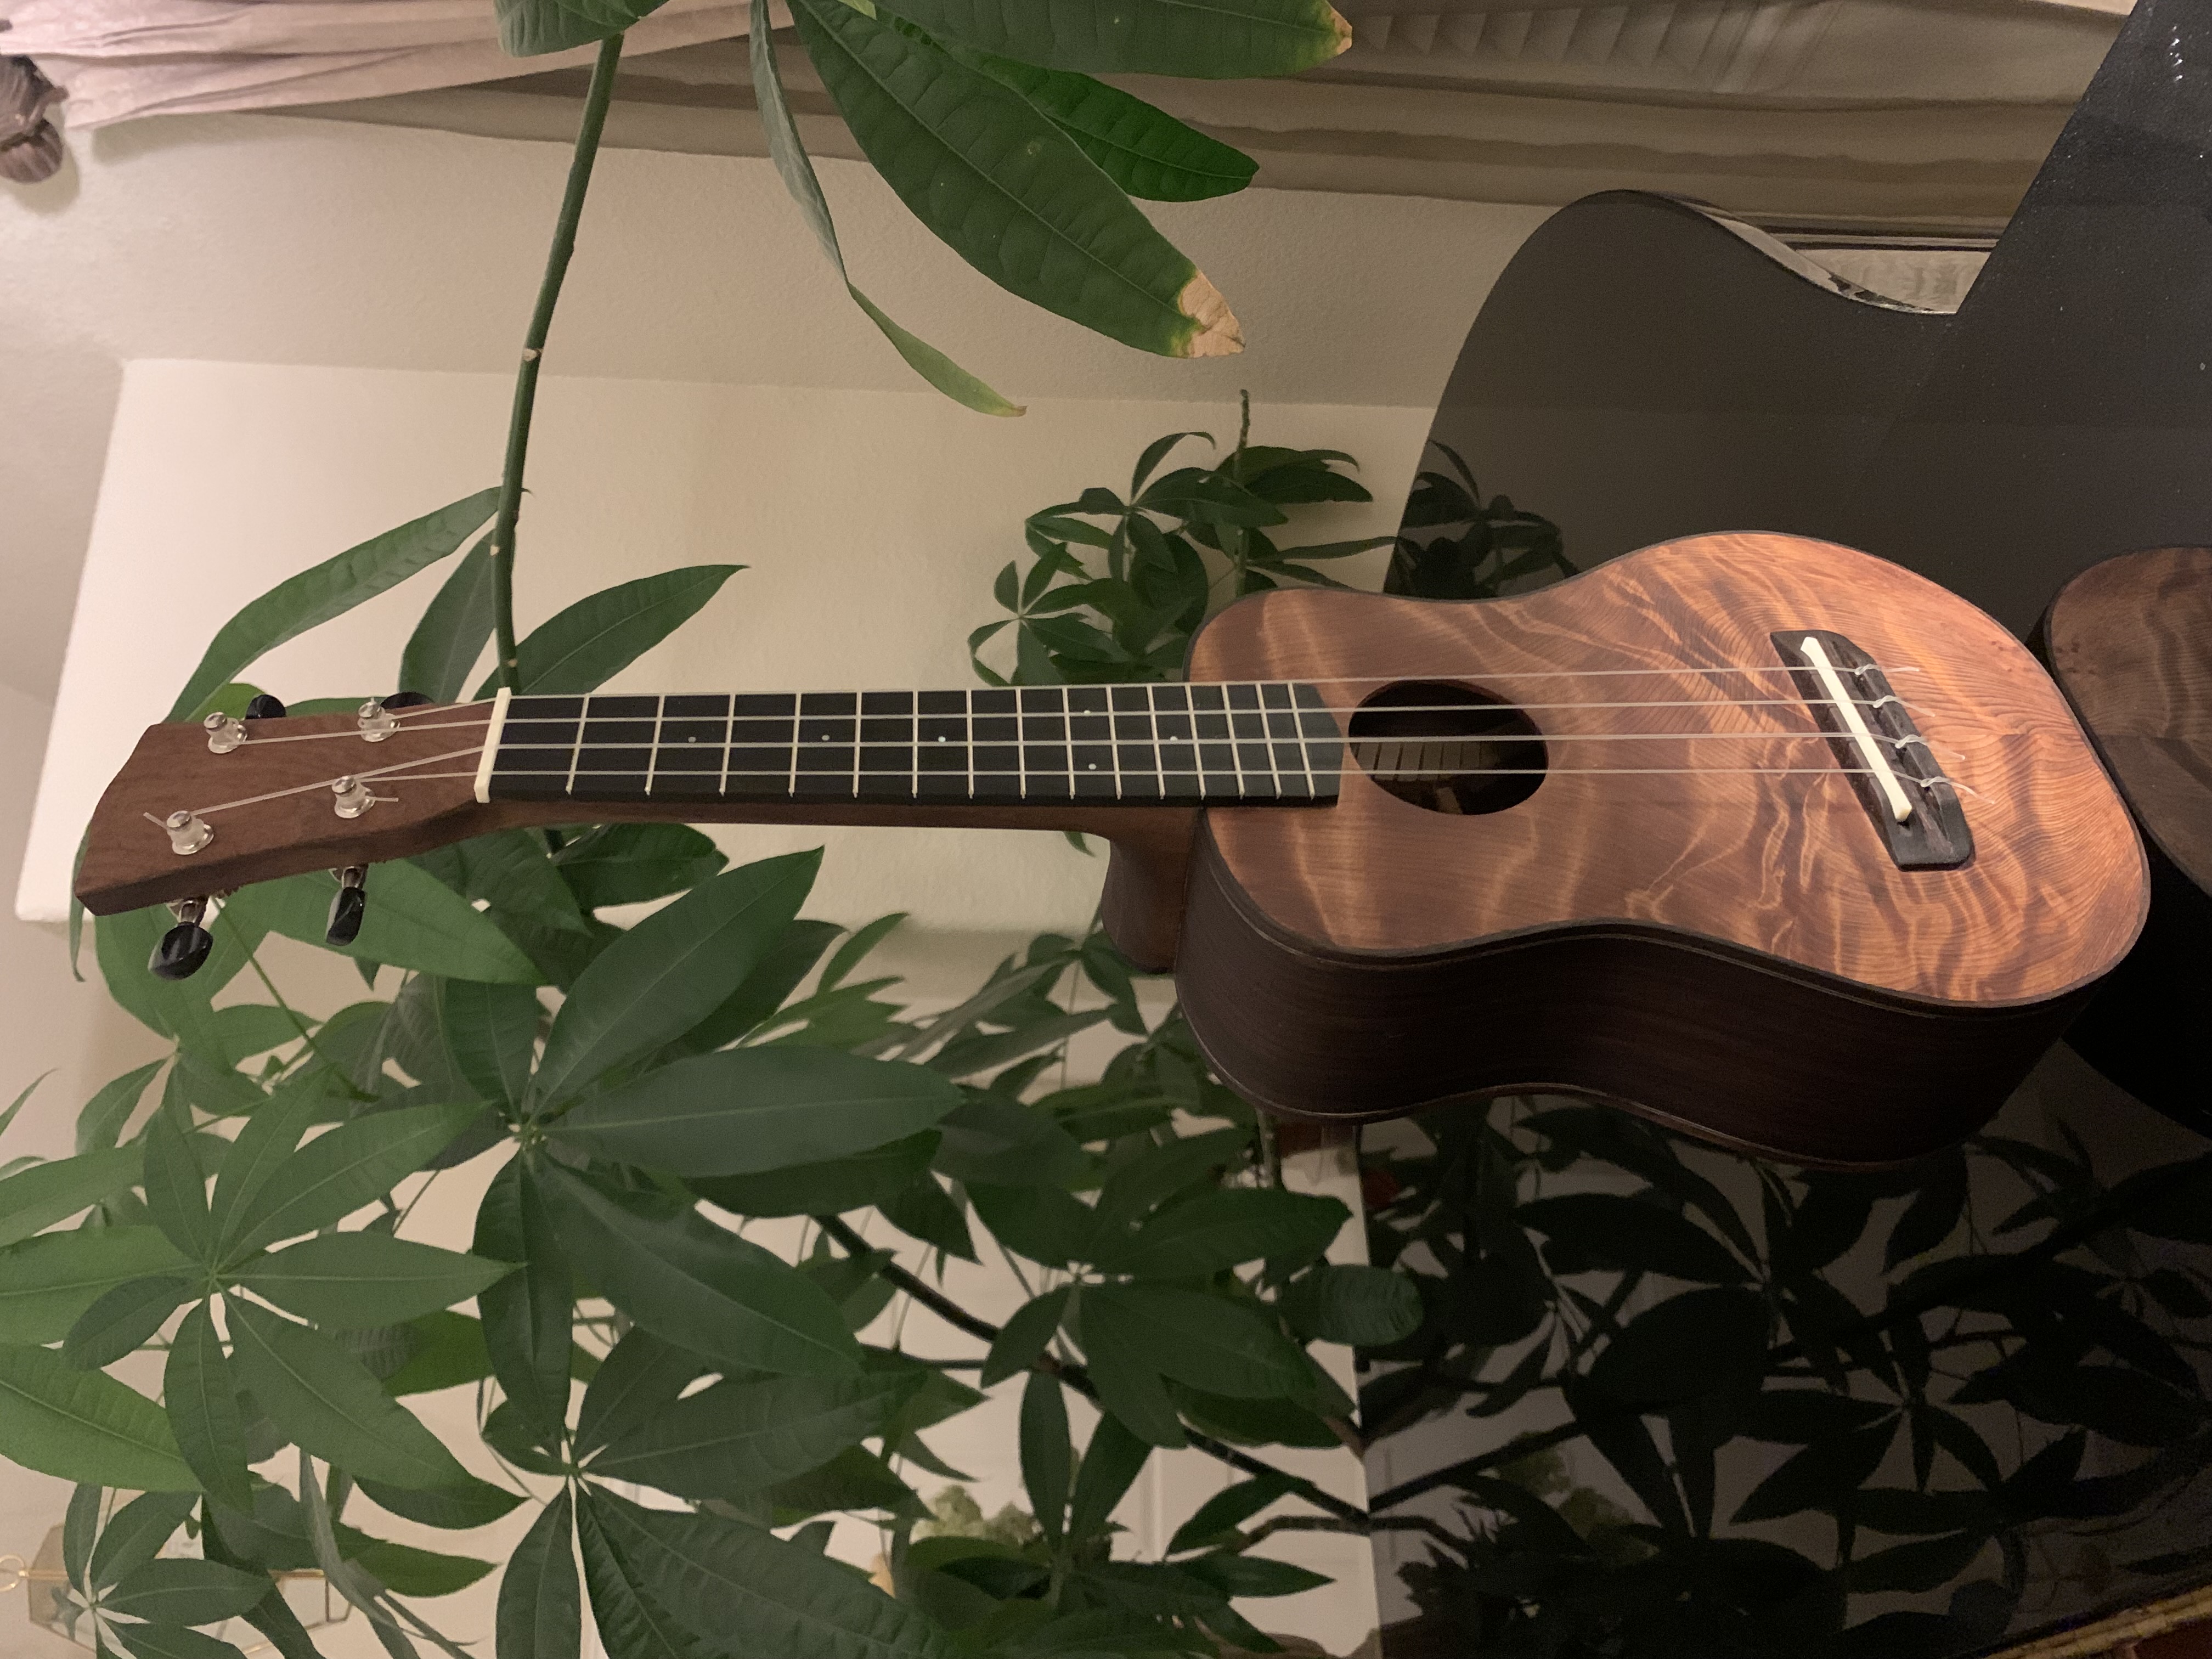
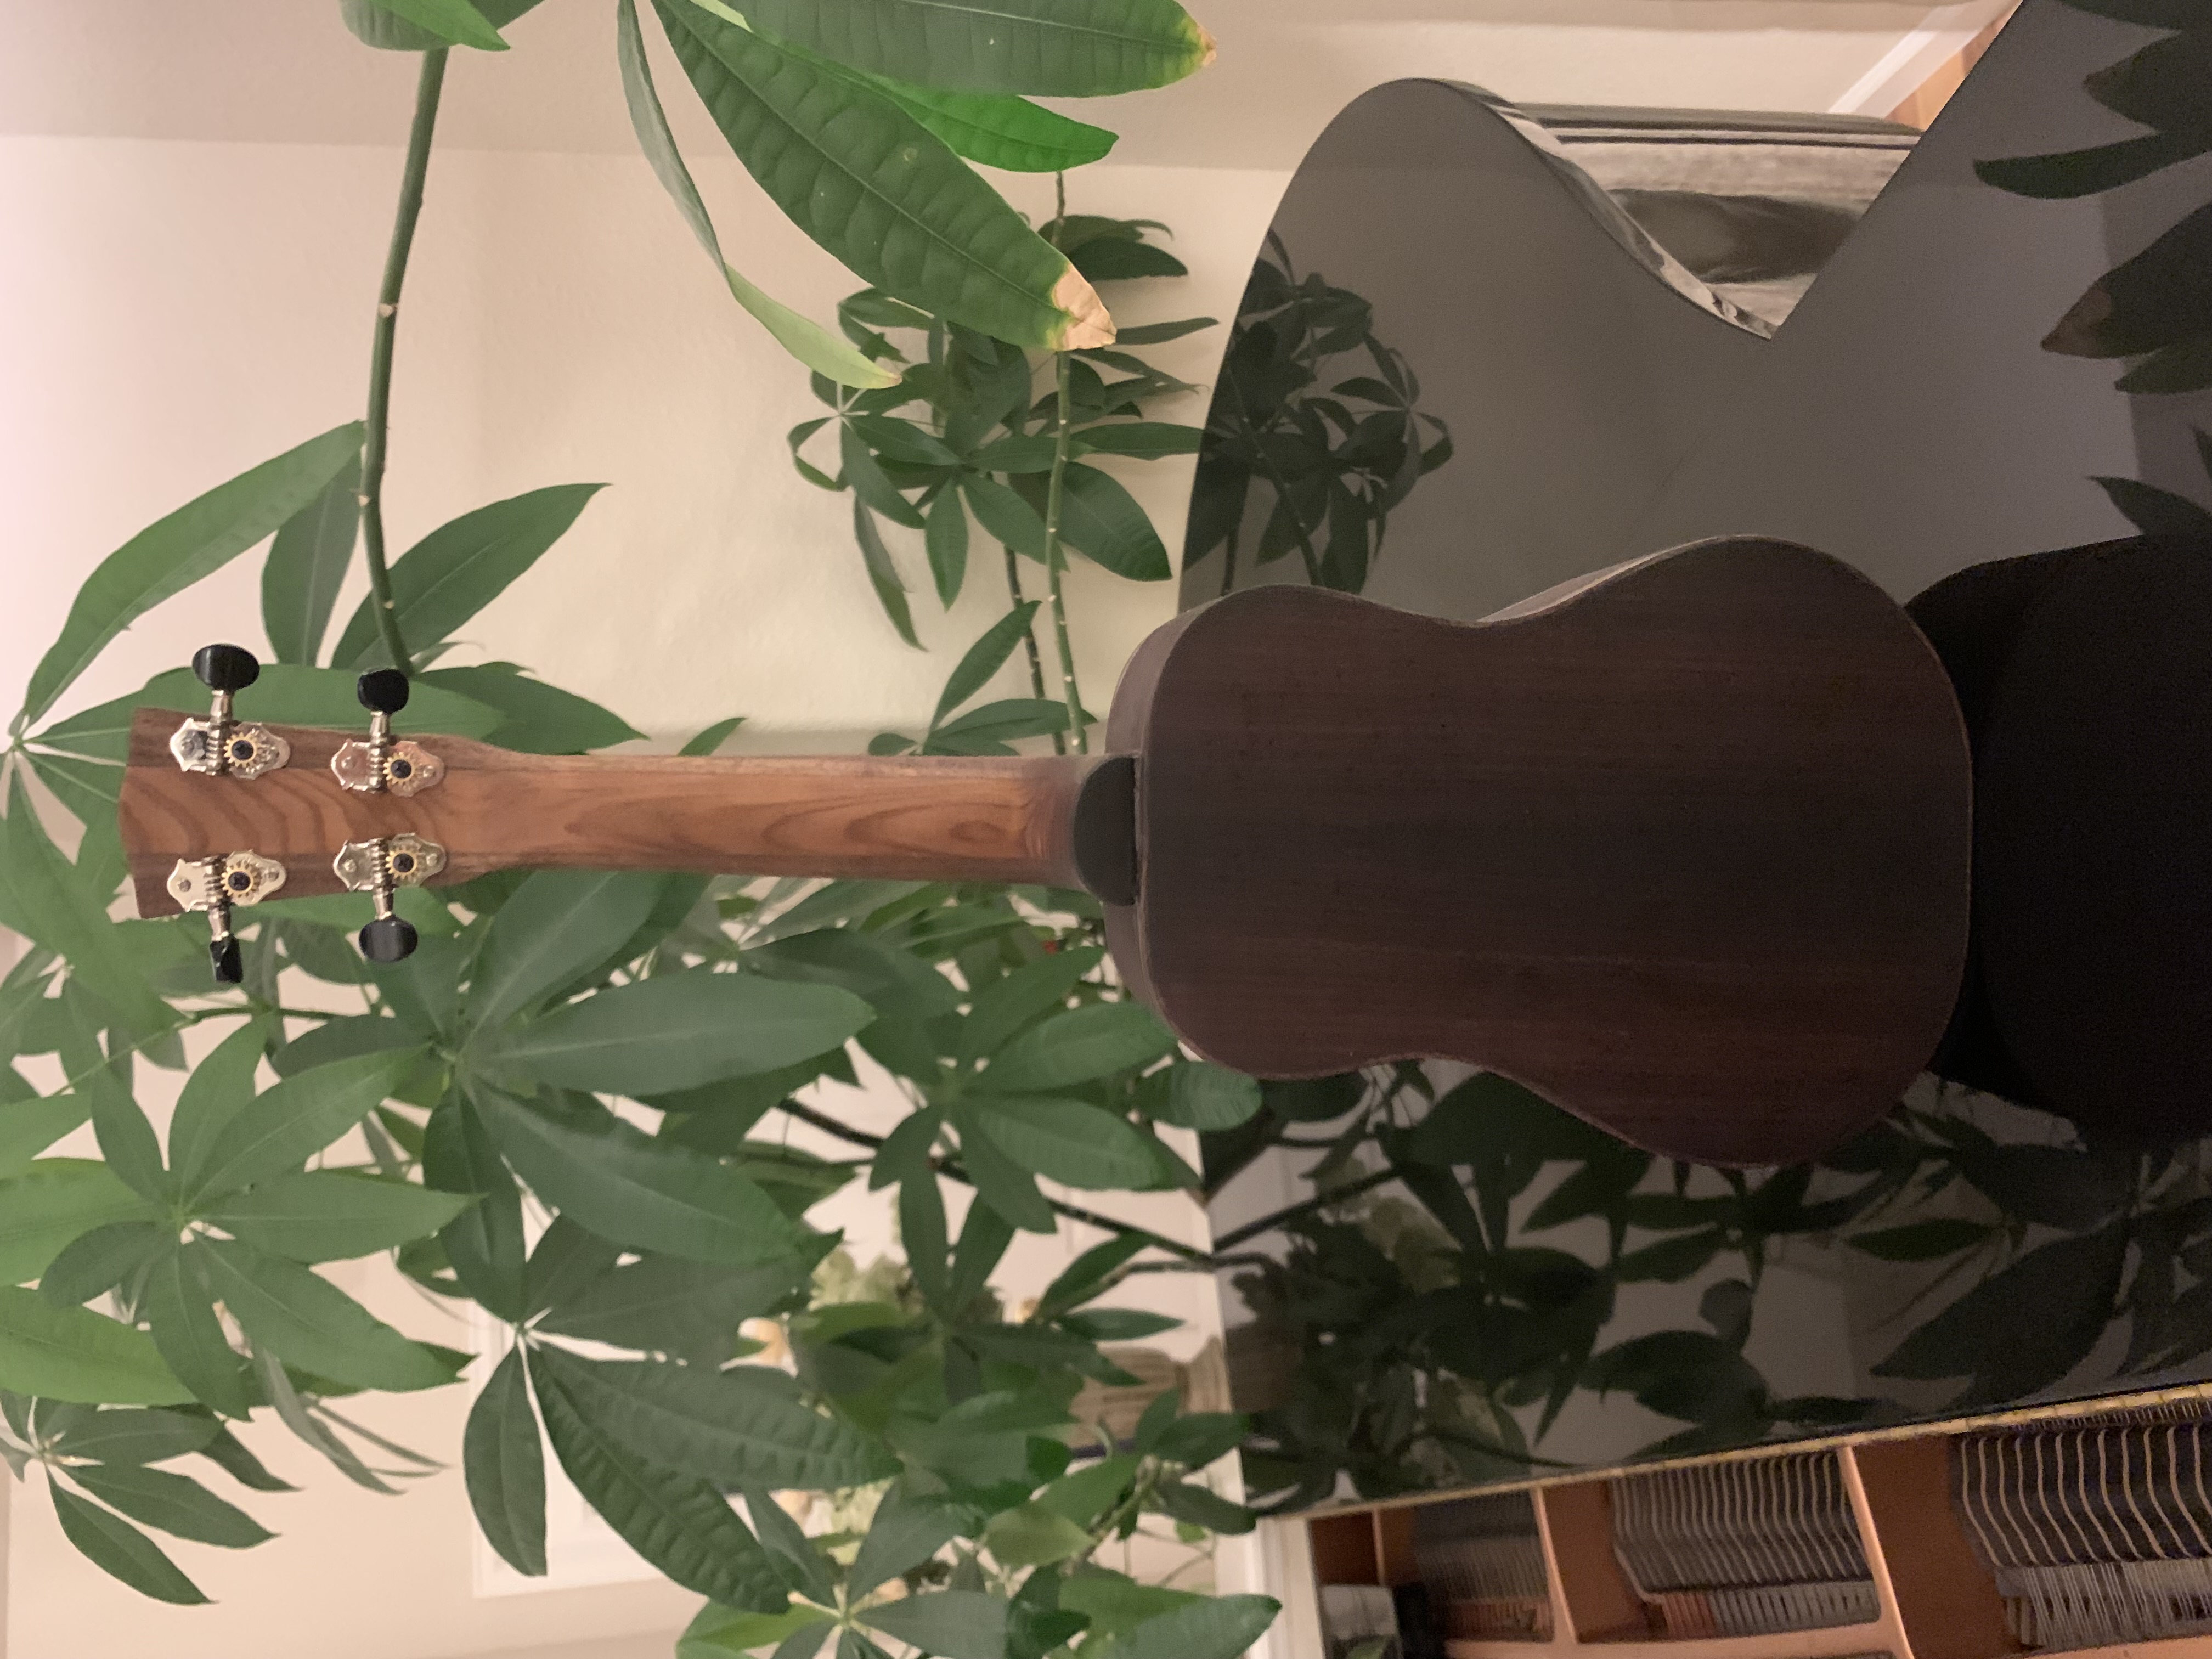
I built a concert ukulele from raw materials! The top is redwood, the neck is walnut and redwood, and the sides and back are Indian rosewood.
Some raw wood was provided, but strings, tuners, and approximately half of the wood were left to us to obtain on our own. I gained lots of experience using tools around the fully-equipped shop, including bandsaws, routers, laser cutters, hand planes, and chisels. In addition to learning techniques specific to building an instrument, I learned about the history of the ukulele, different wood cuts, and properties of wood as a material. What I love about wood is that it is so alive and flexible to work with. Even seemingly large mistakes could be repaired beautifully, so while initially I was afraid to make mistakes, I got much more comfortable.
Building the Ukulele
The Body
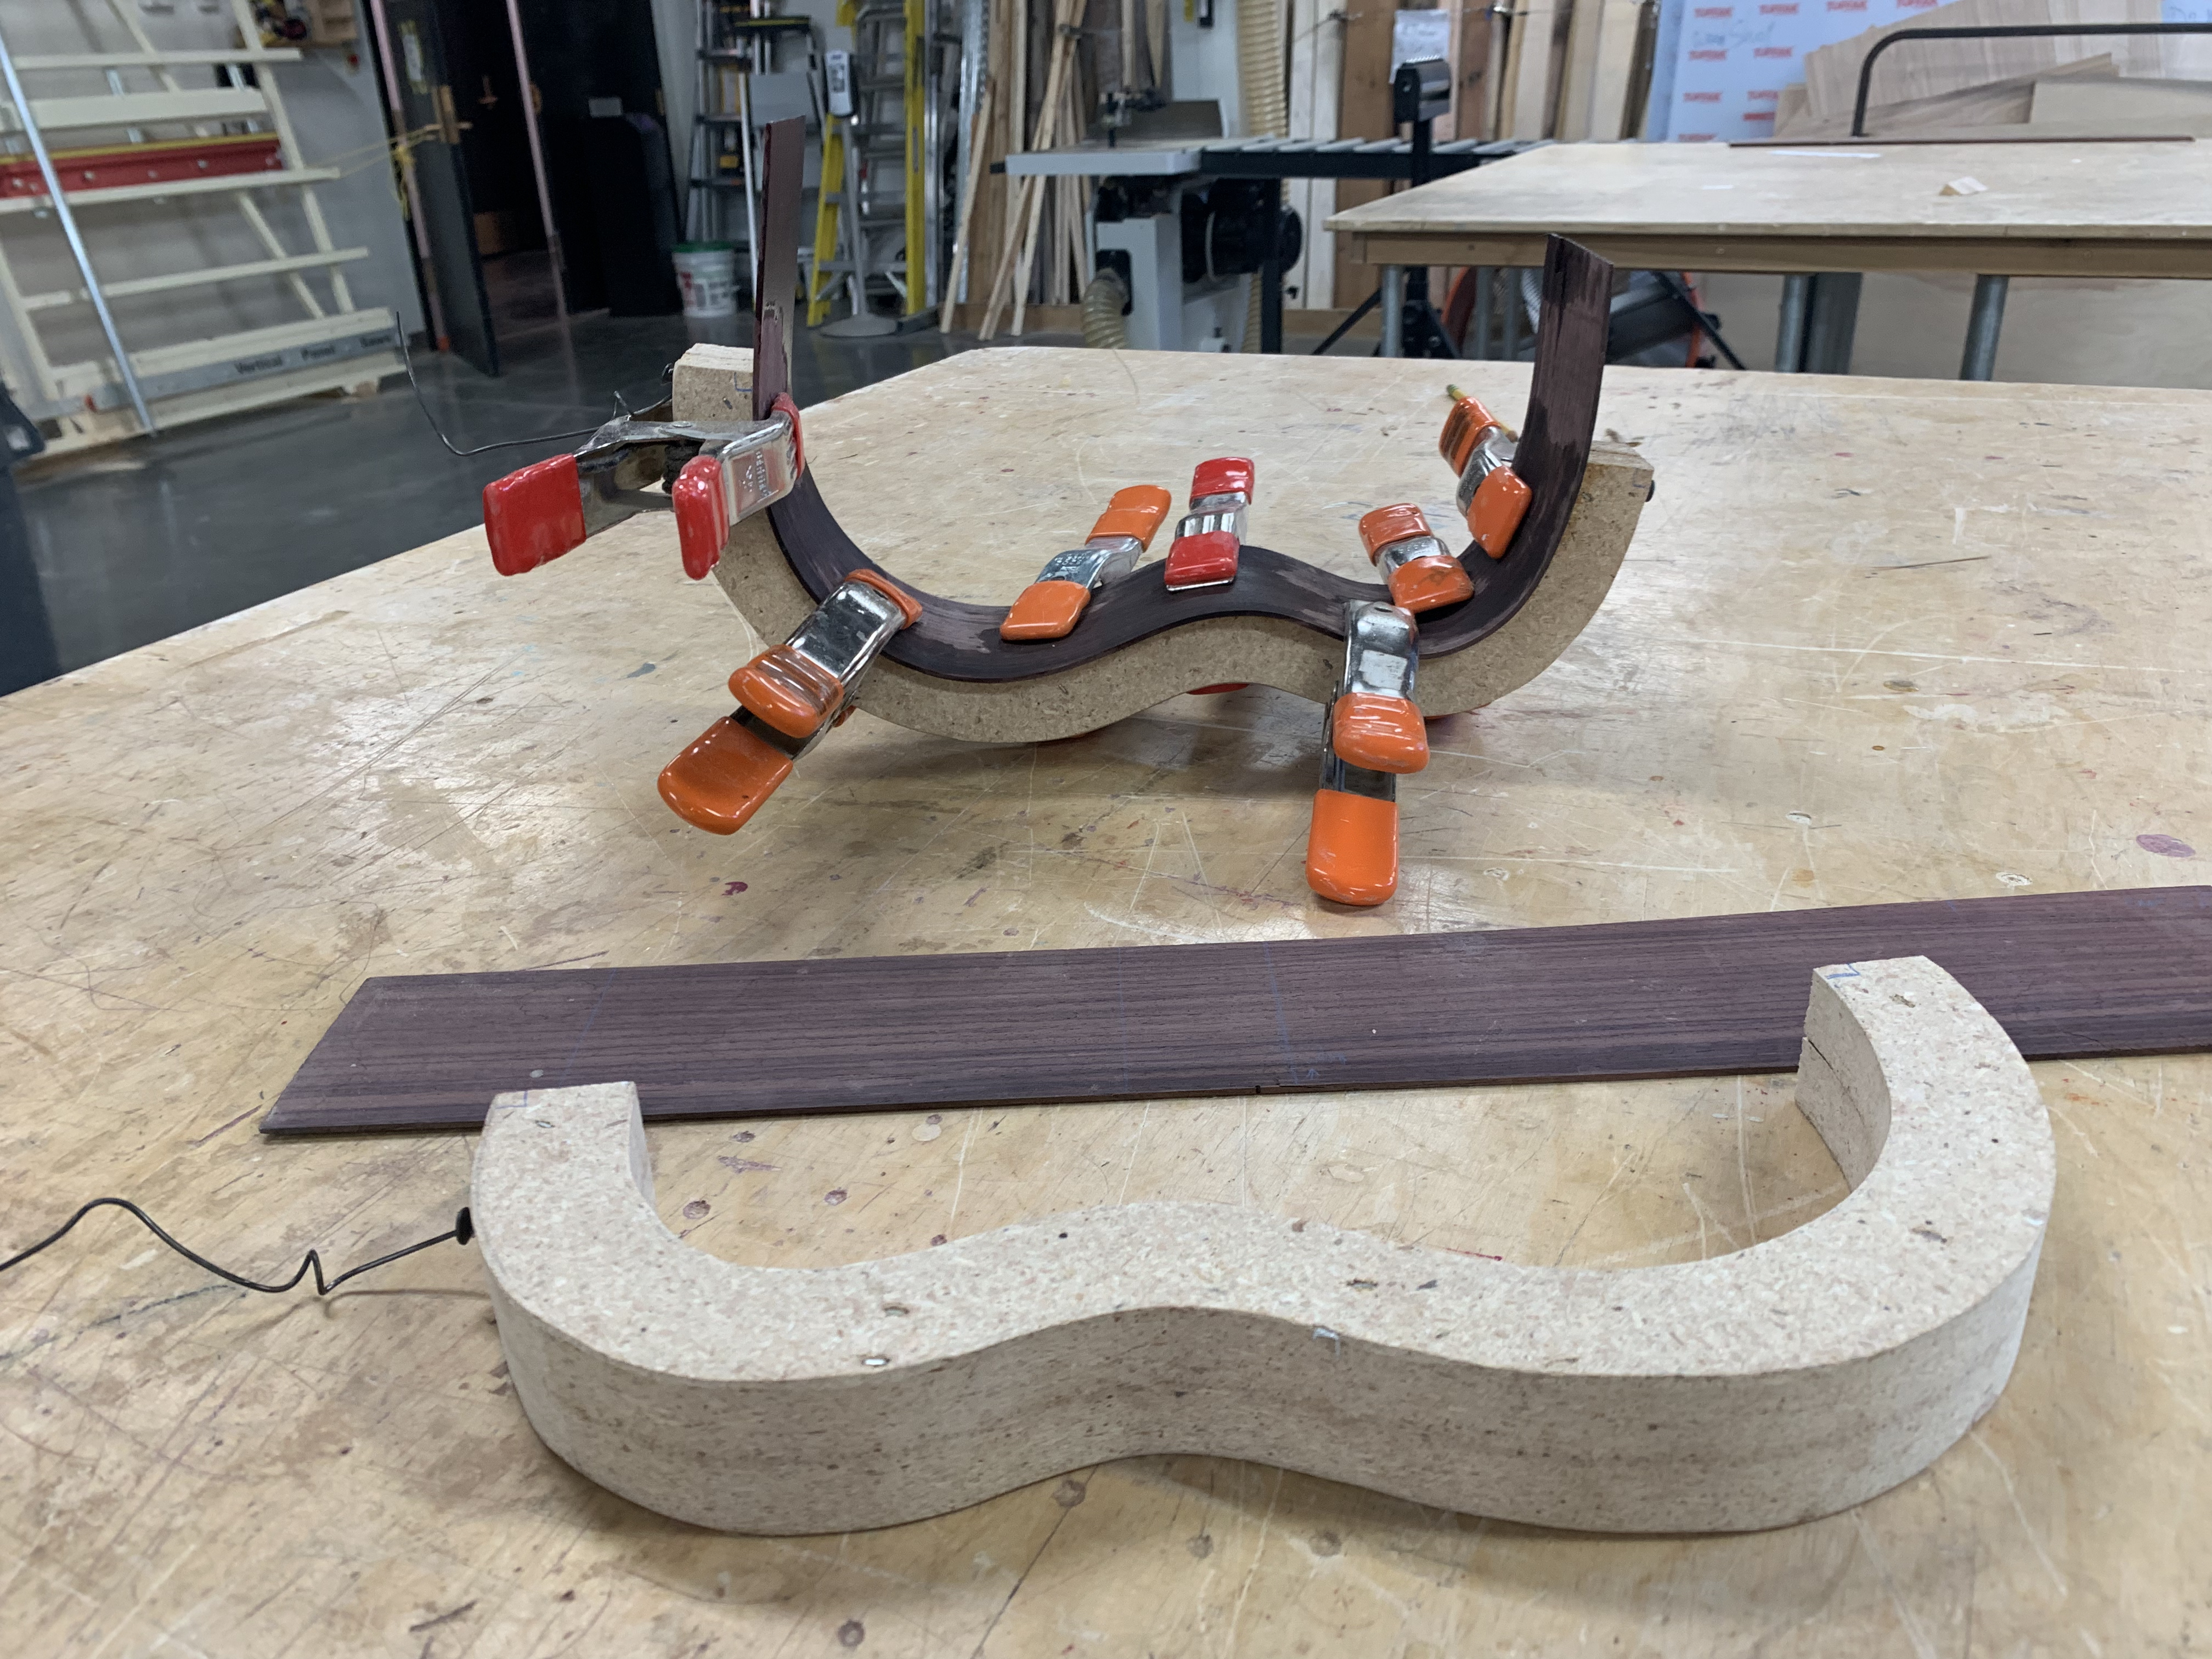
First, I created a mold out of MDF, a wood composite material. Then the sides were soaked in water to help them conduct heat and bent to the mold using an iron.
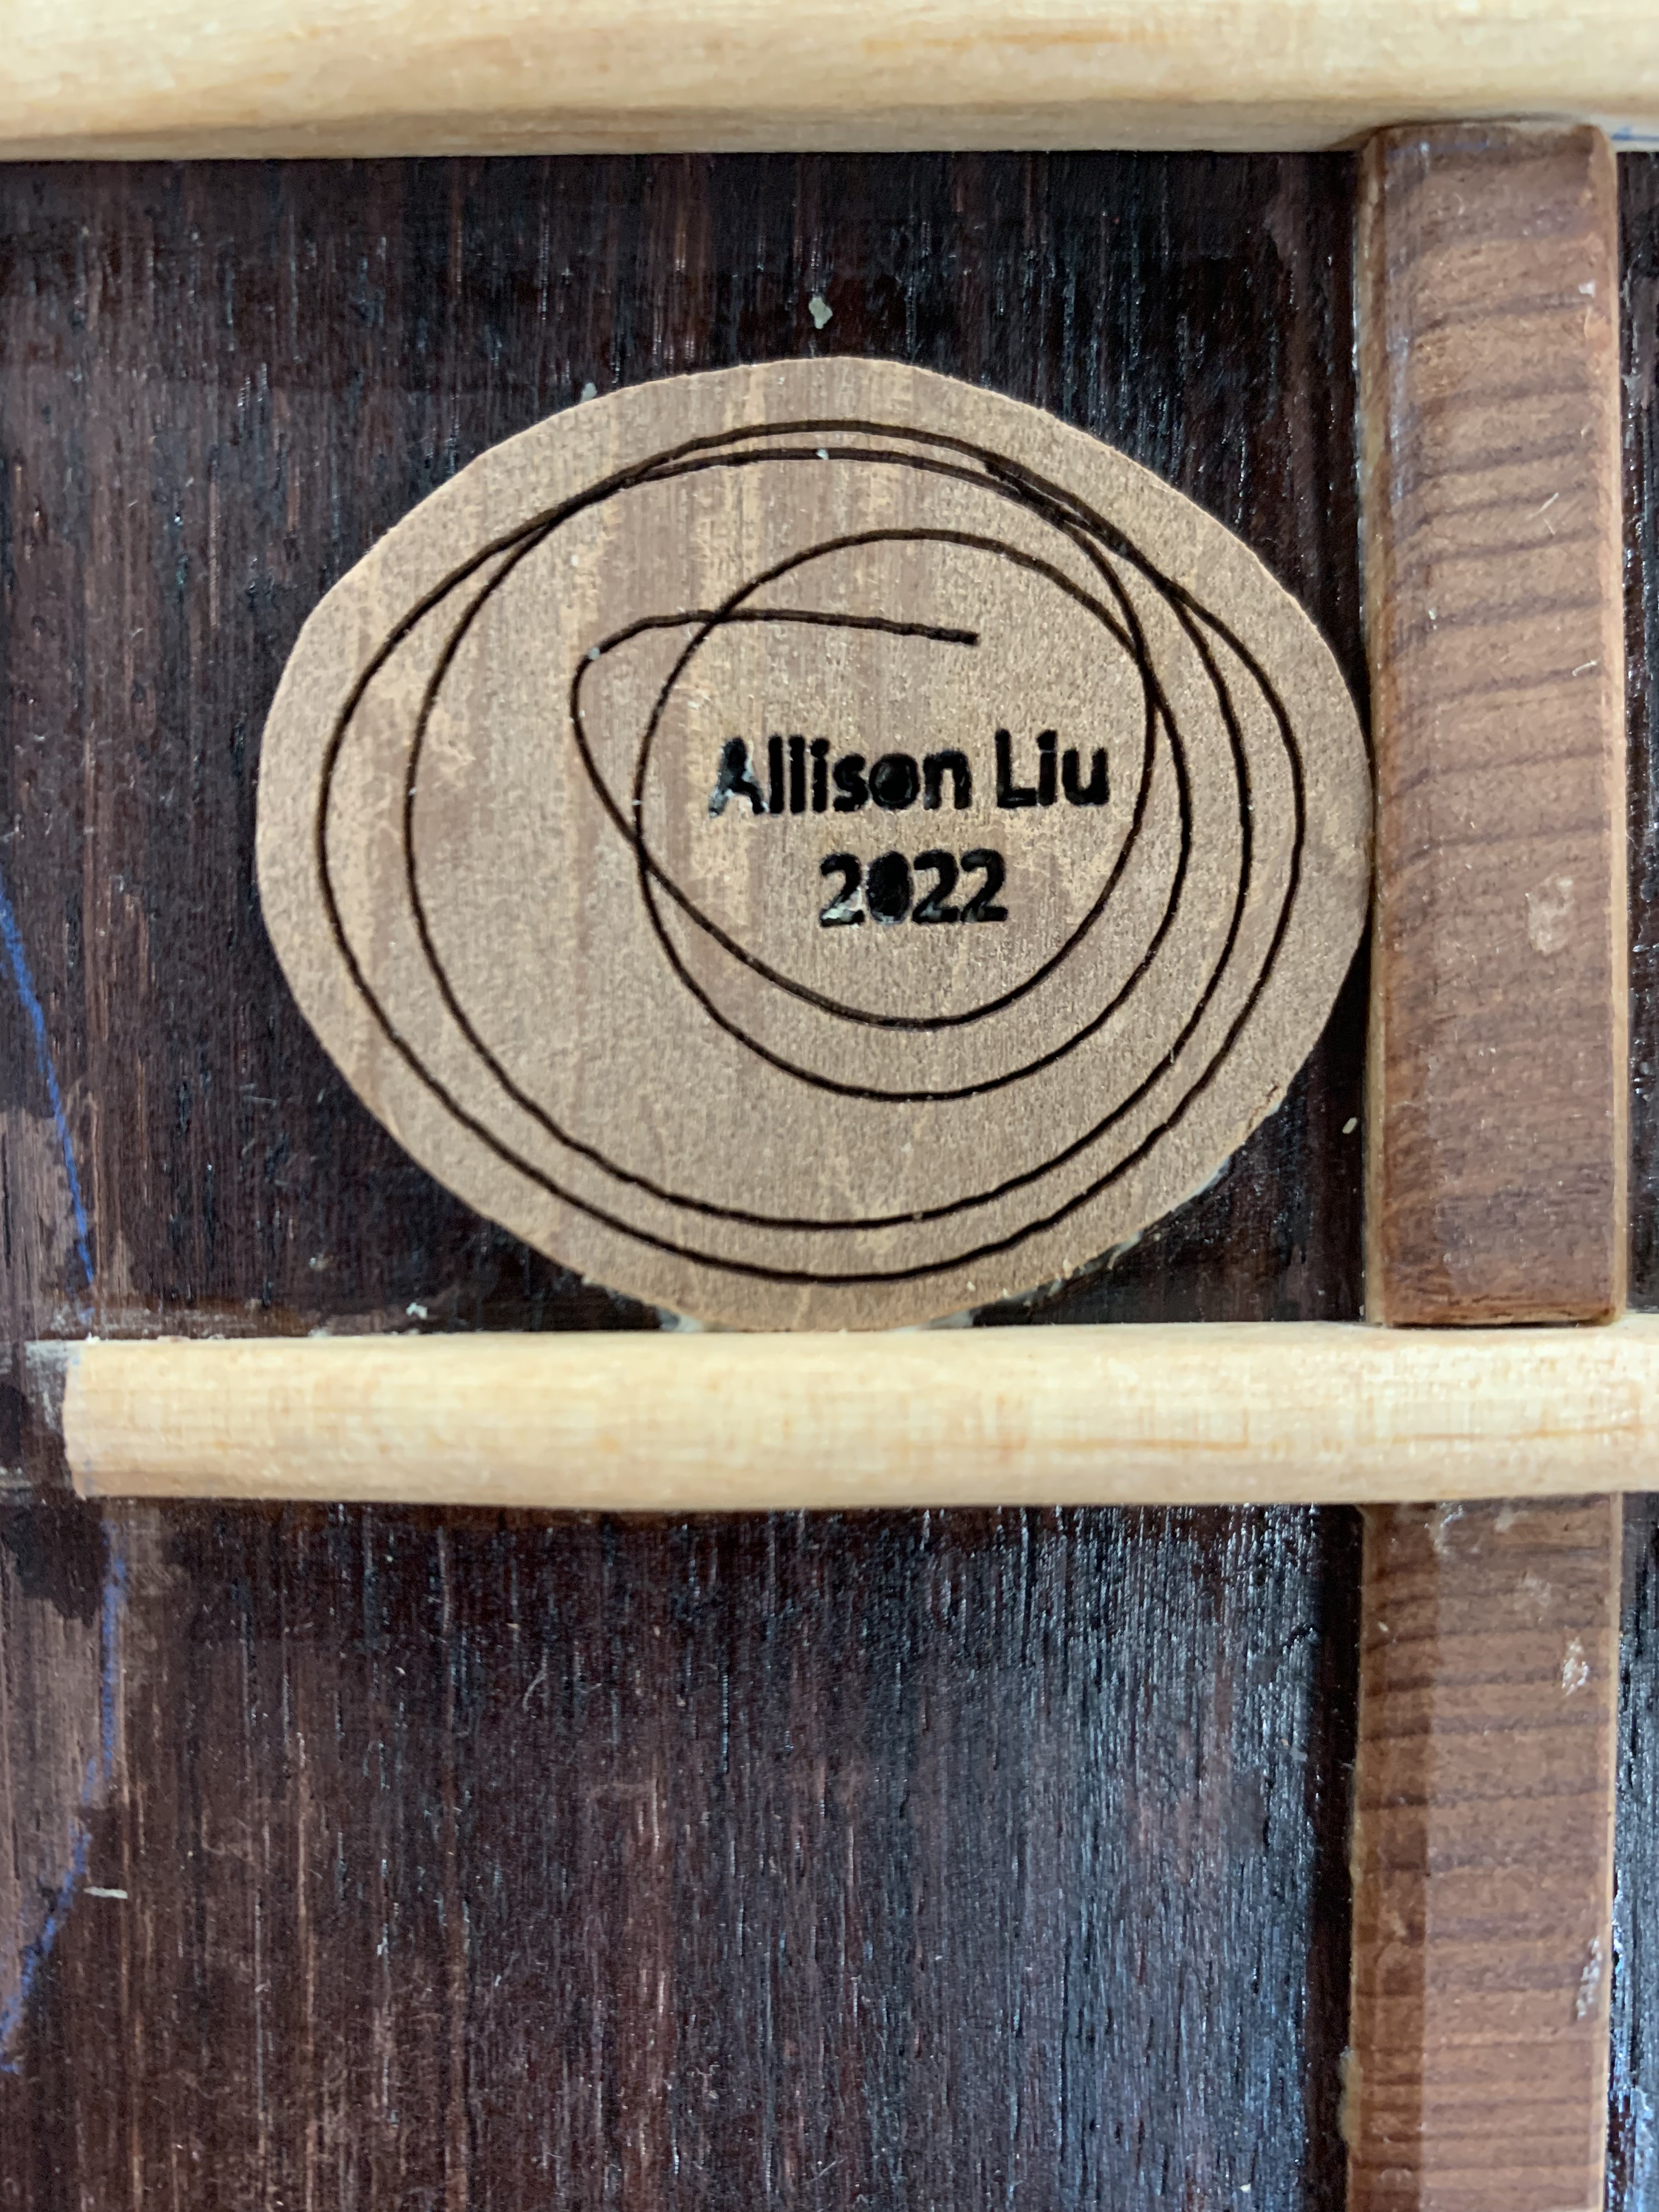
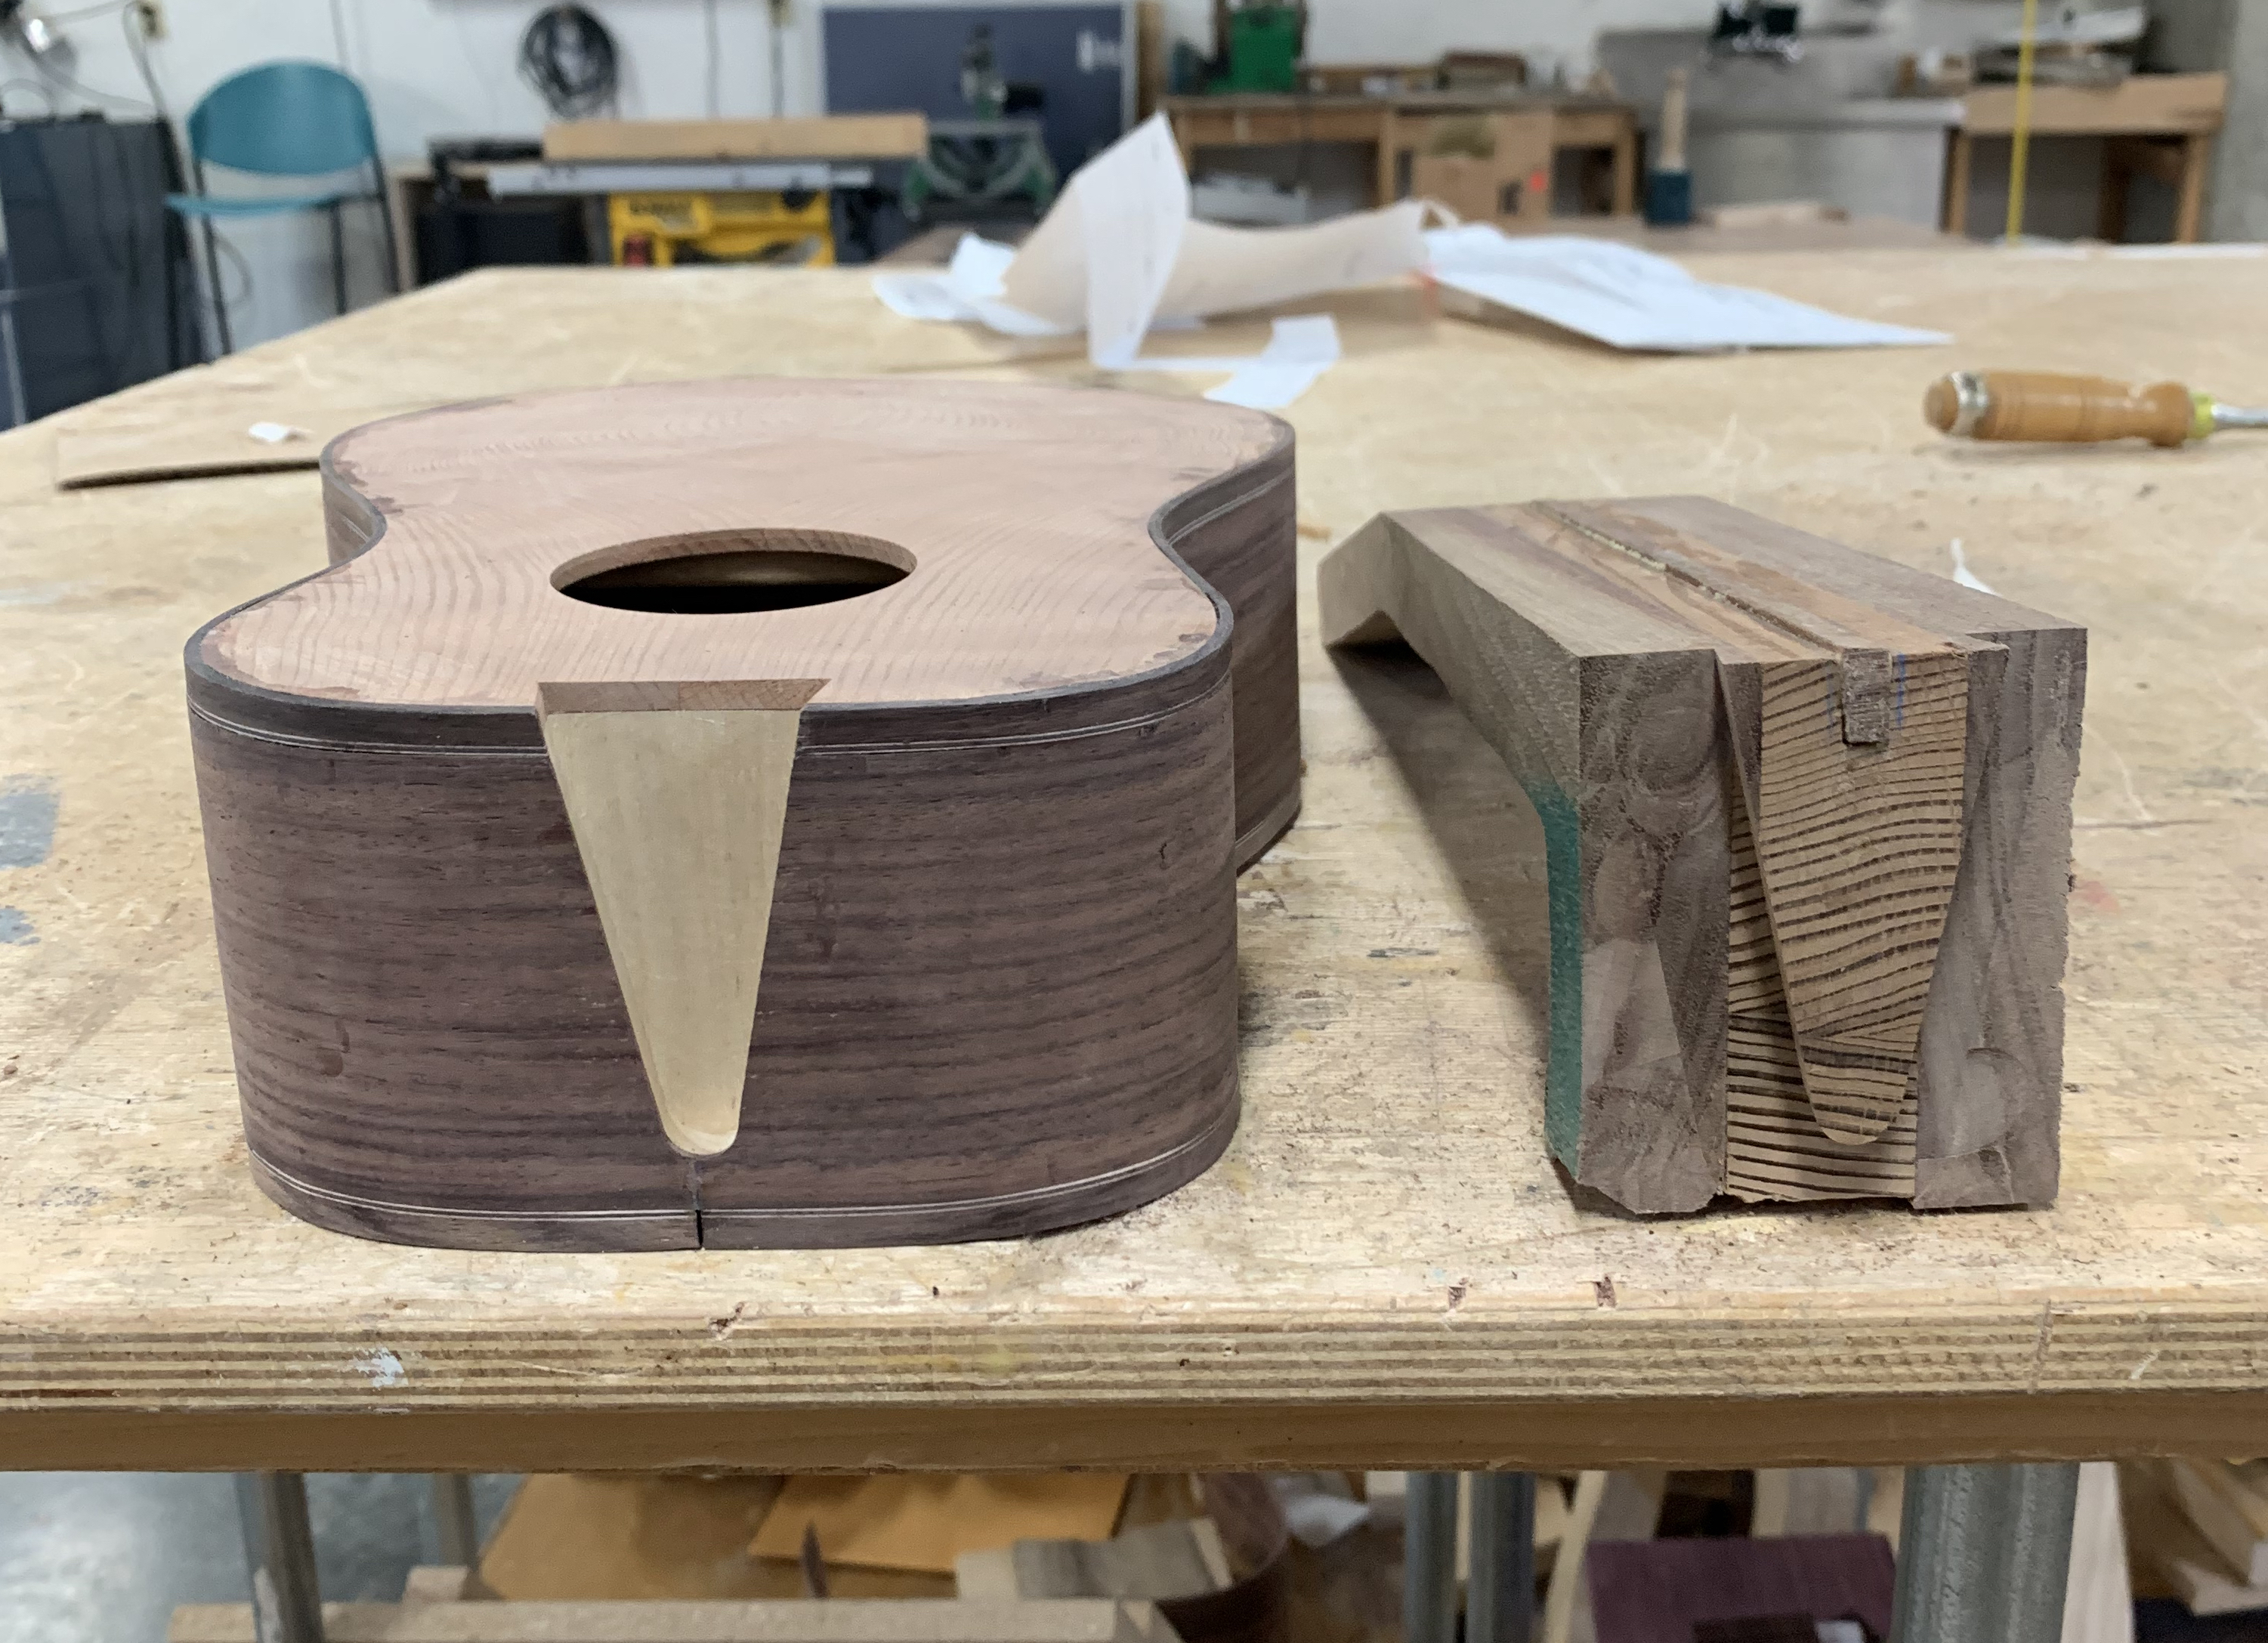
While the sides were setting, the top and back pieces were bookmatched, prepared to be glued (using a handplane), and joined together. Then those pieces were thicknessed and the soundhole was cut in the top. I actually thinned my first soundboard too much and it snapped into pieces! Those pieces were used elsewhere in a laser cut name plate that went inside the body and the headstock veneer.
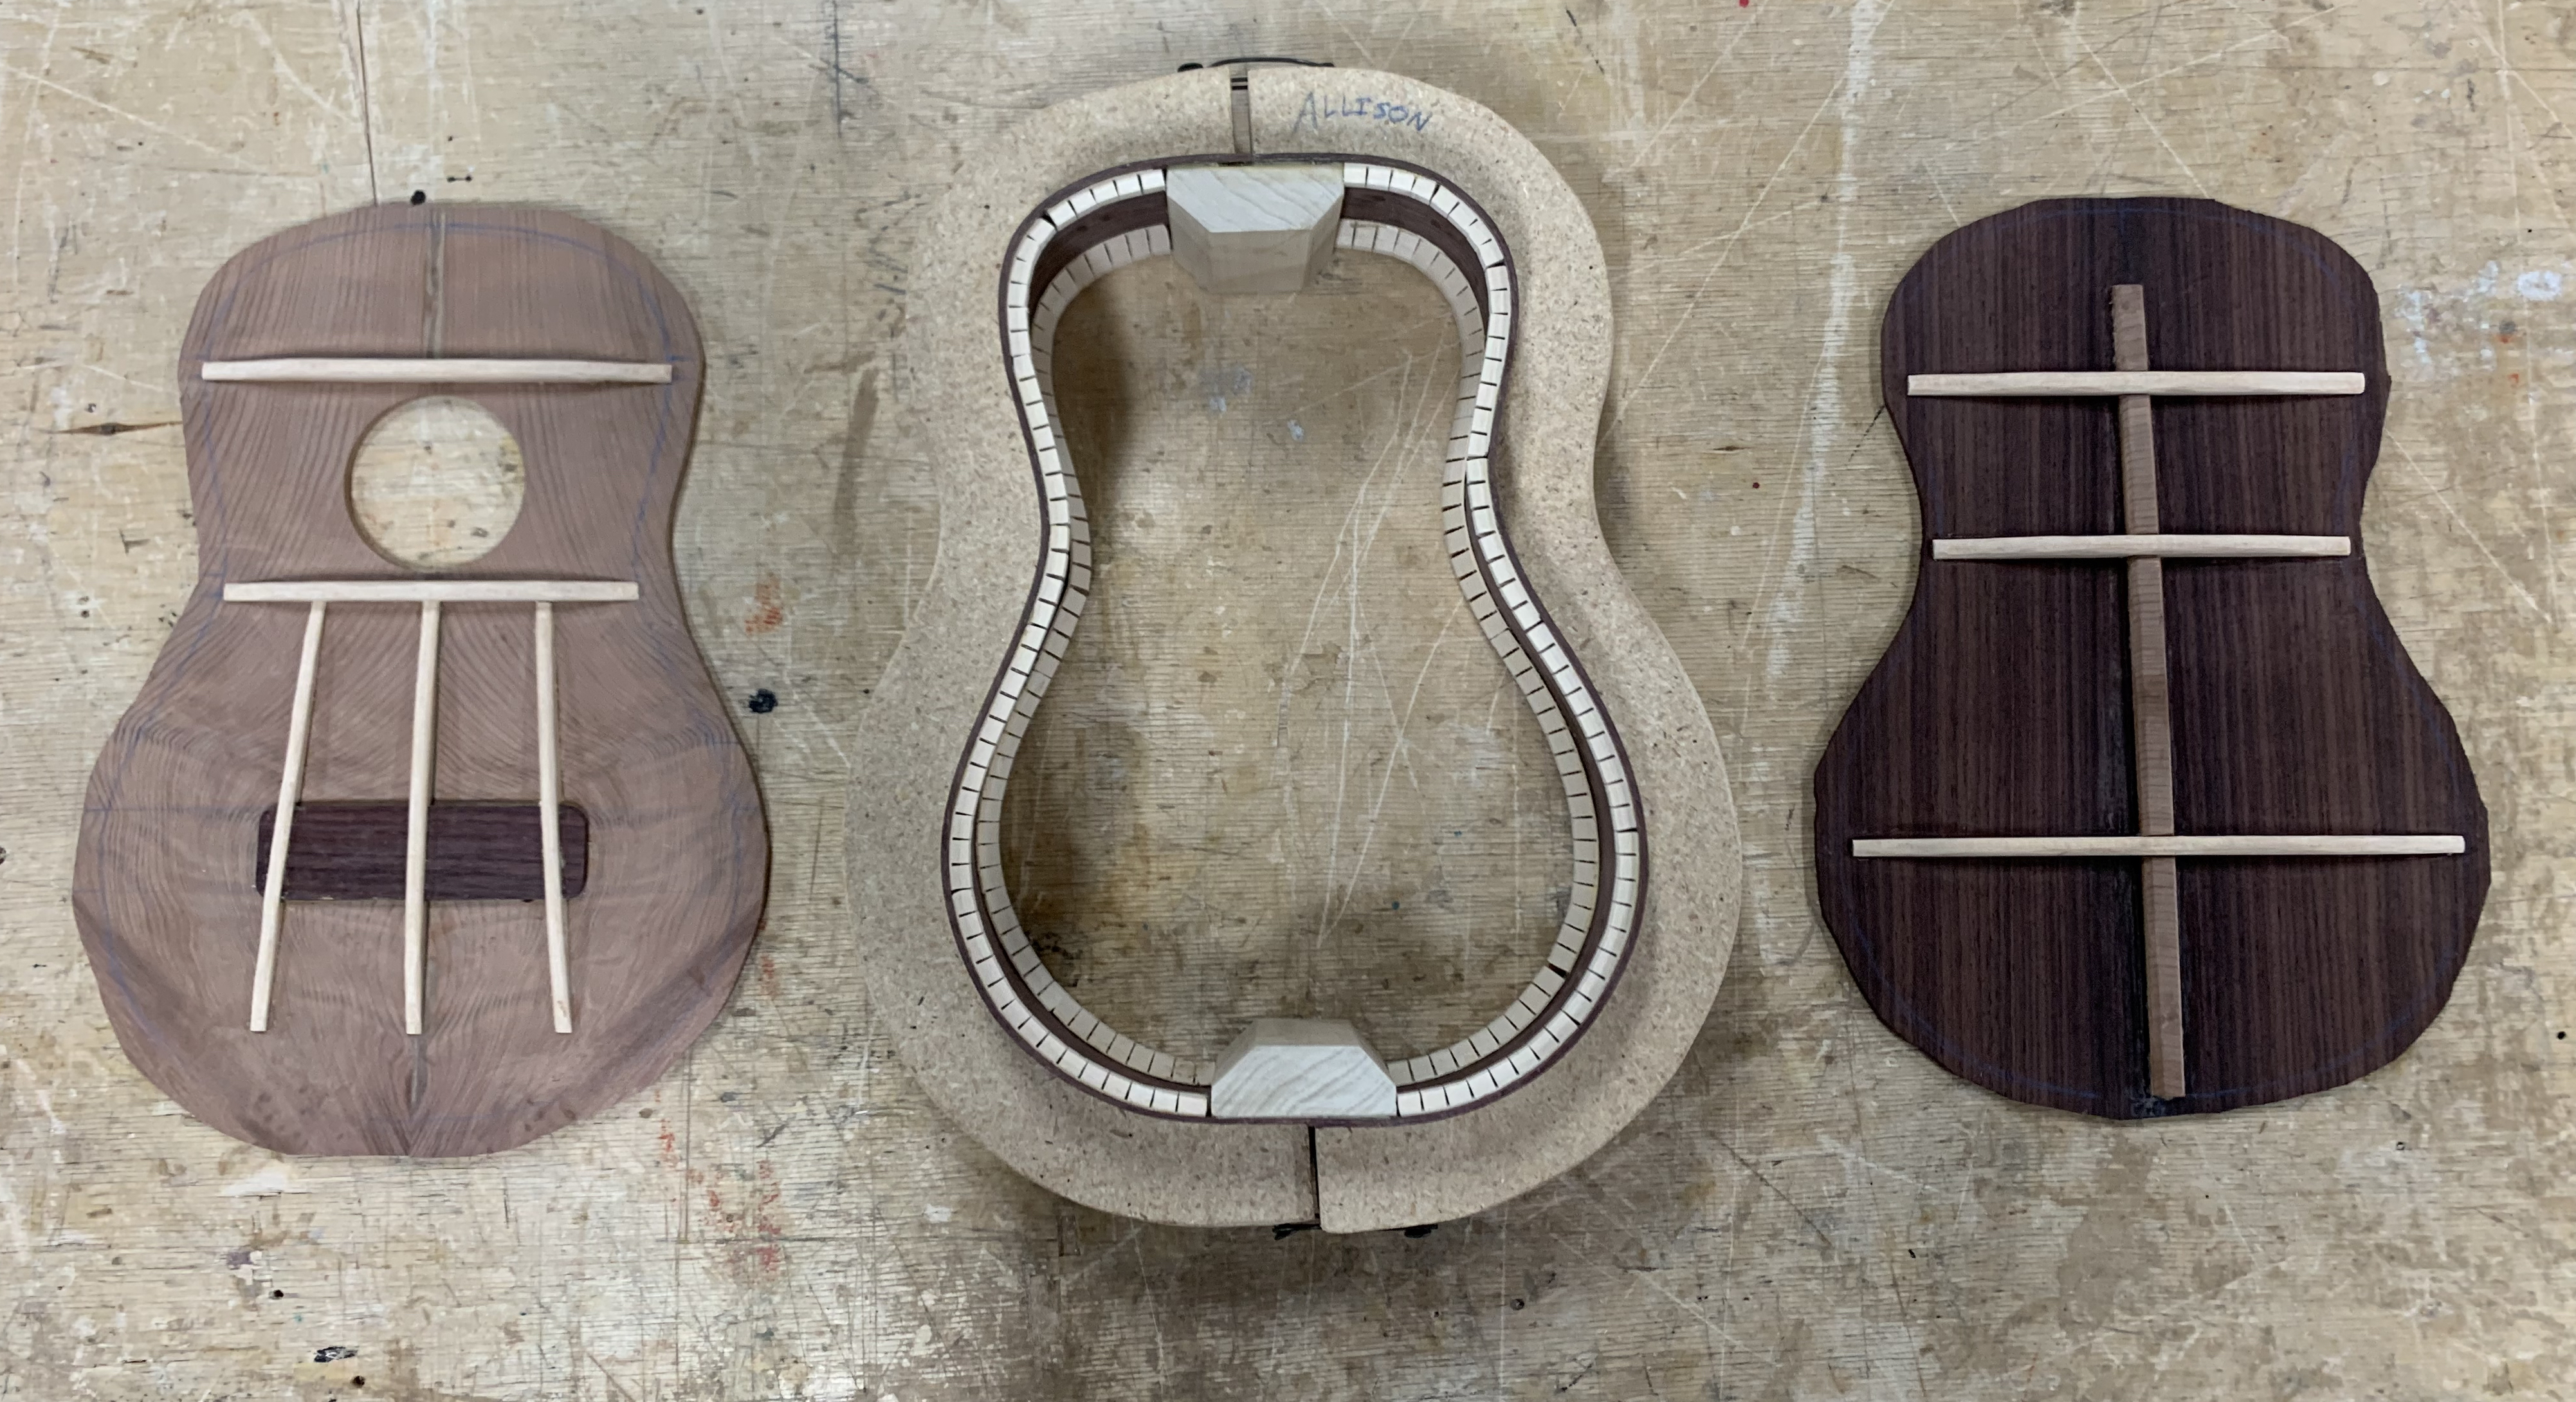
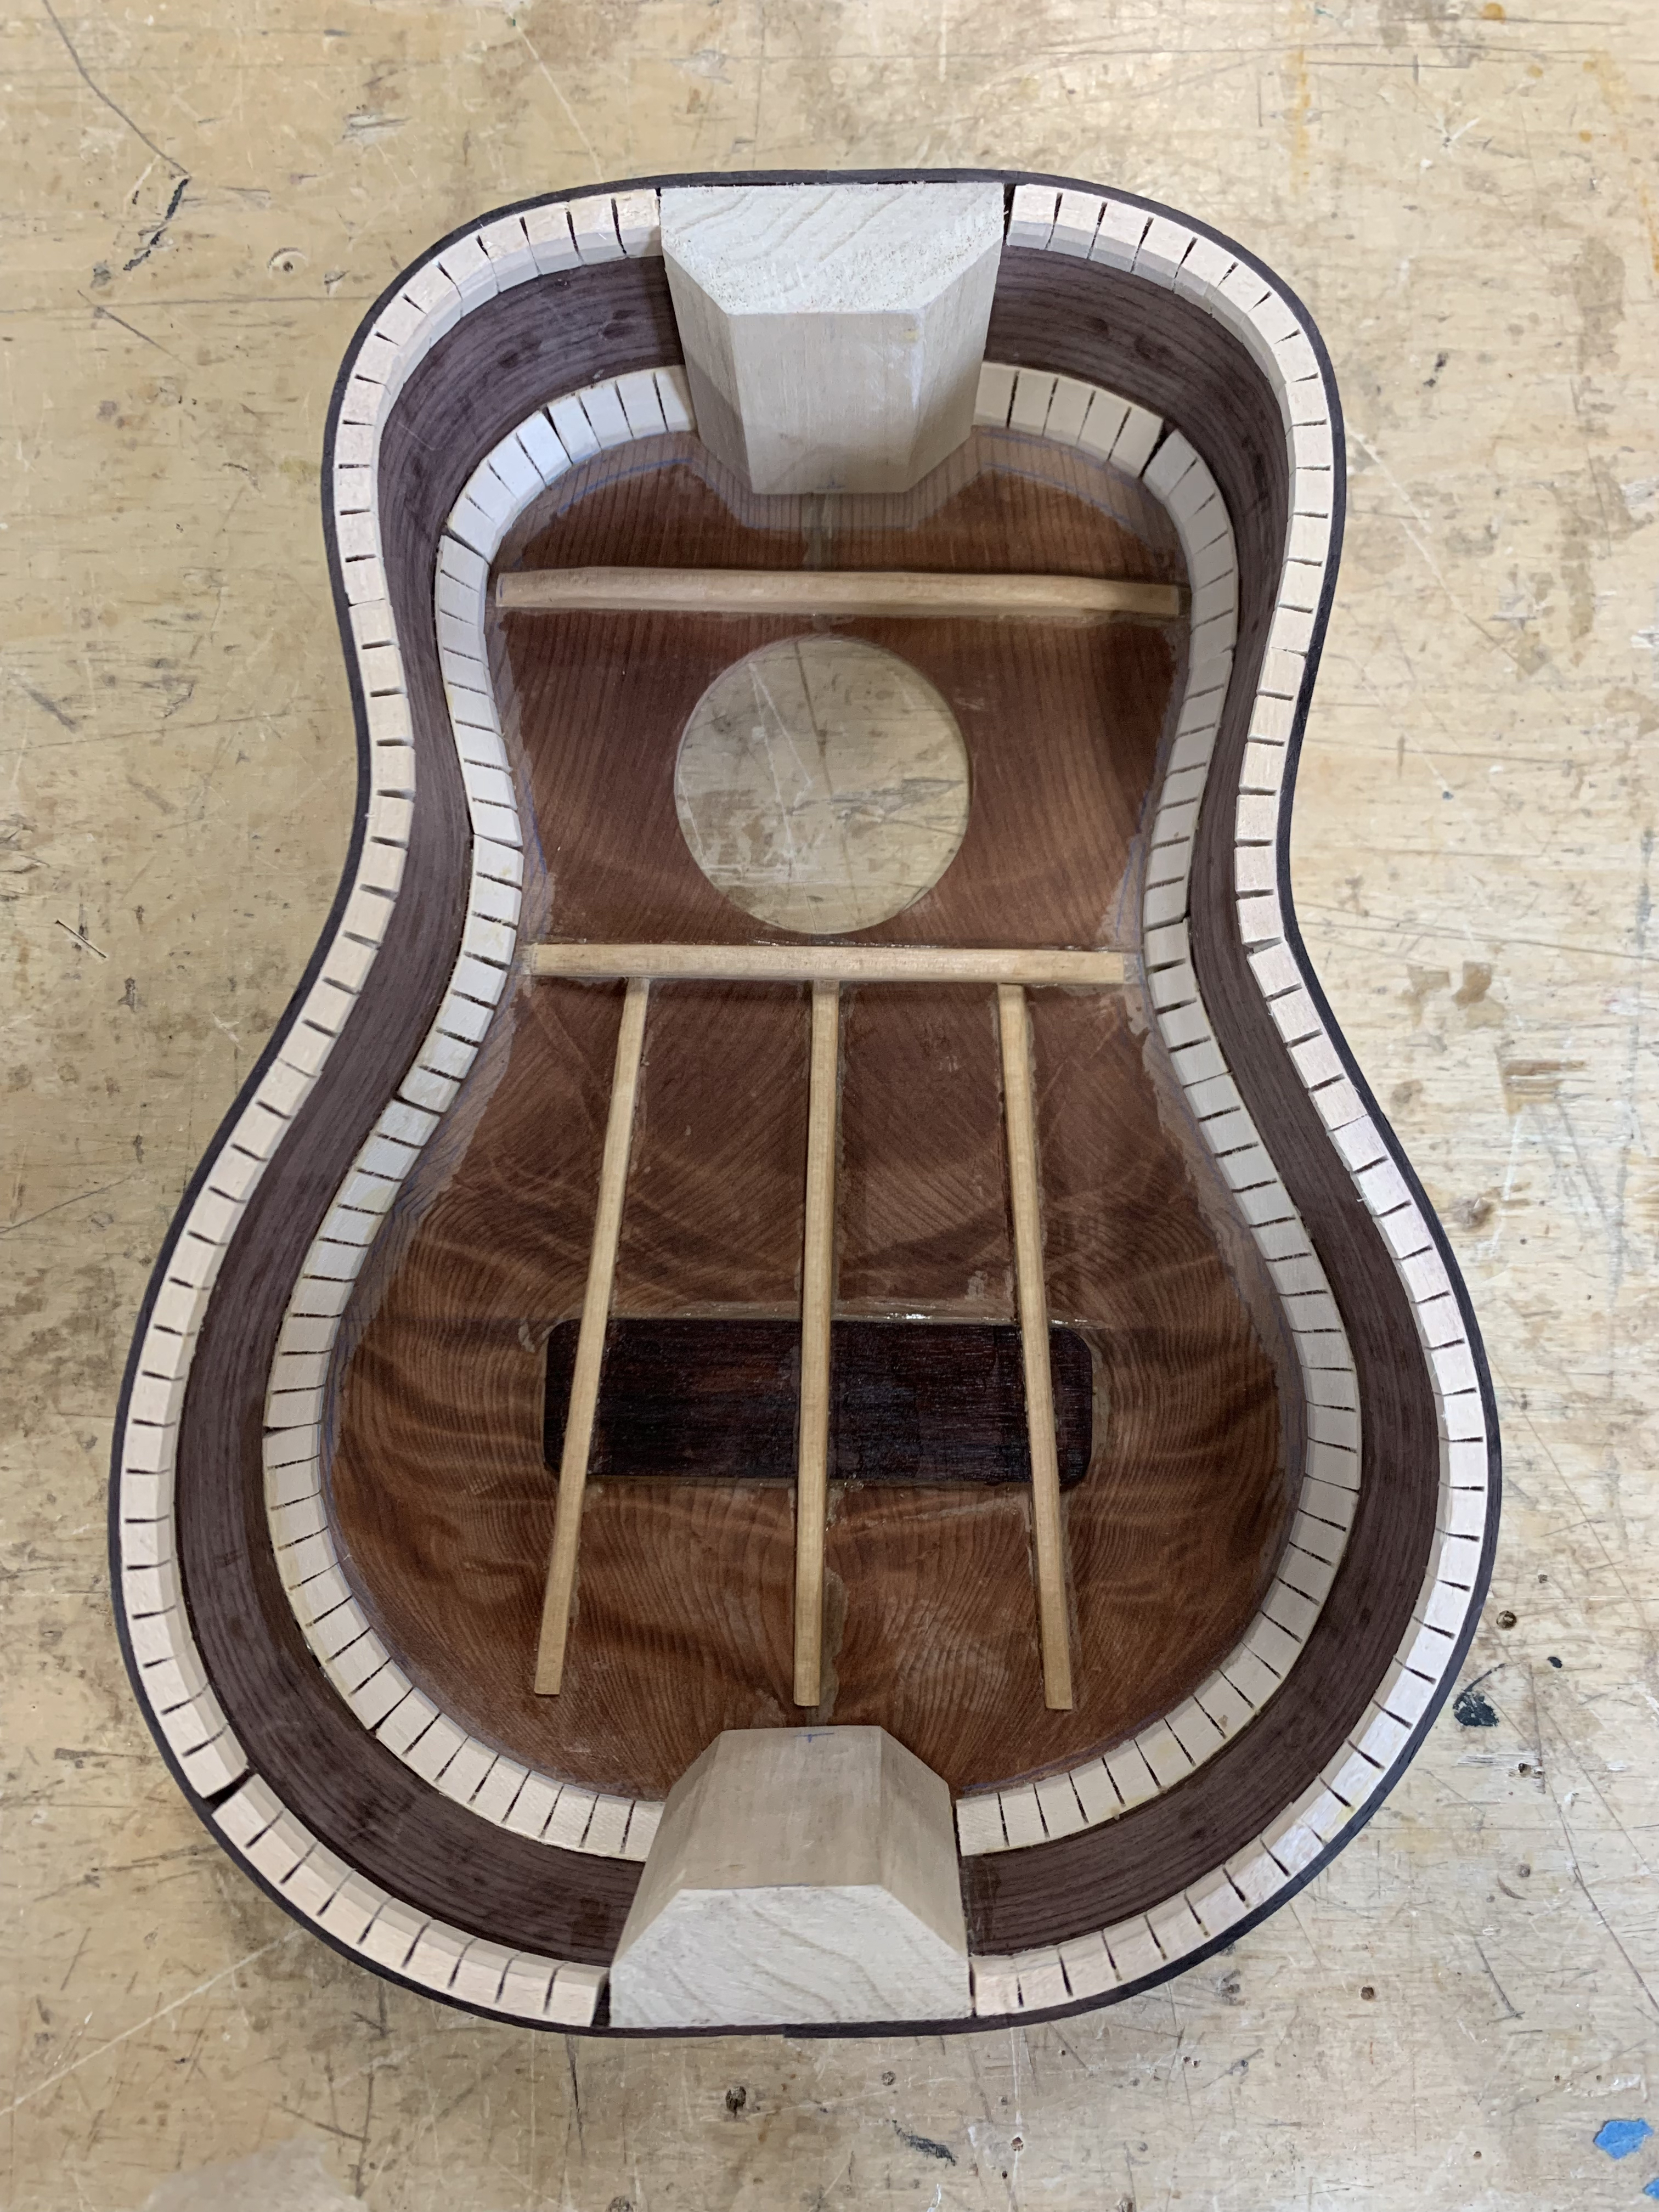
Next, braces were created out of spruce lumber. First they were rough cut on the bandsaw, smoothed using the belt sander and a hand plane. Then the braces were glued to the top and back plates to provide extra support and strength. After they were glued, I shaped them by hand with a chisel.
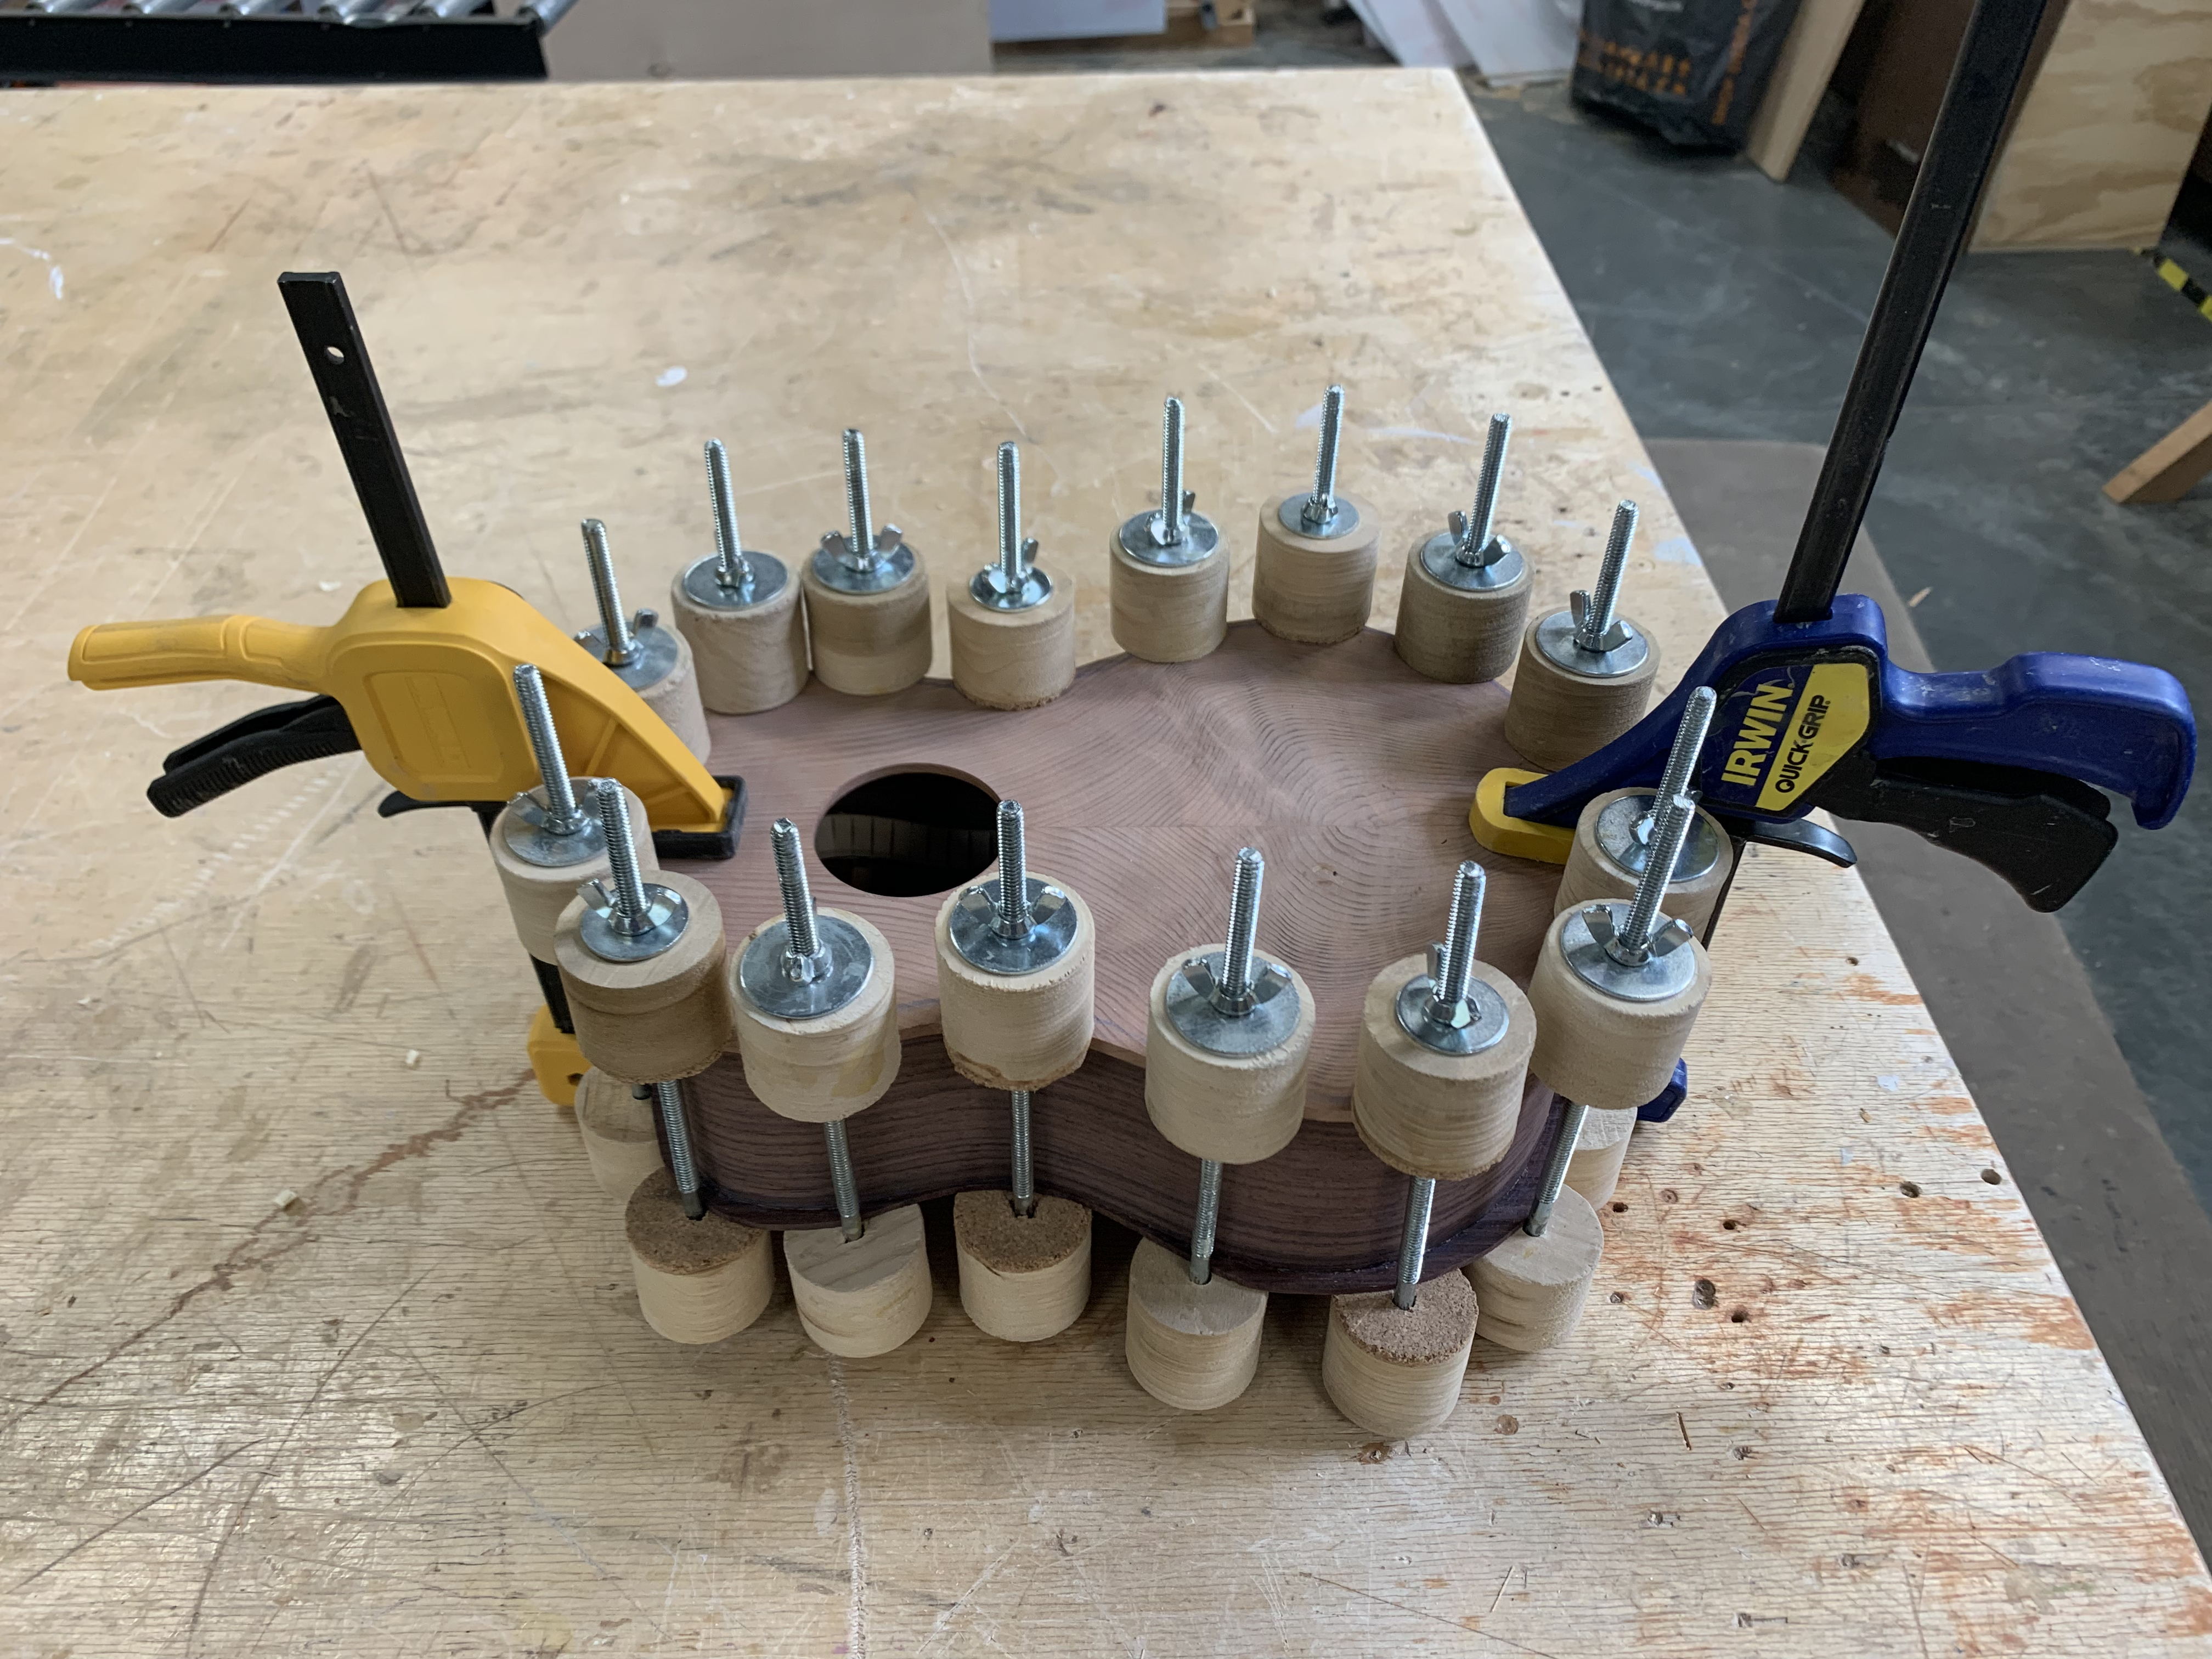
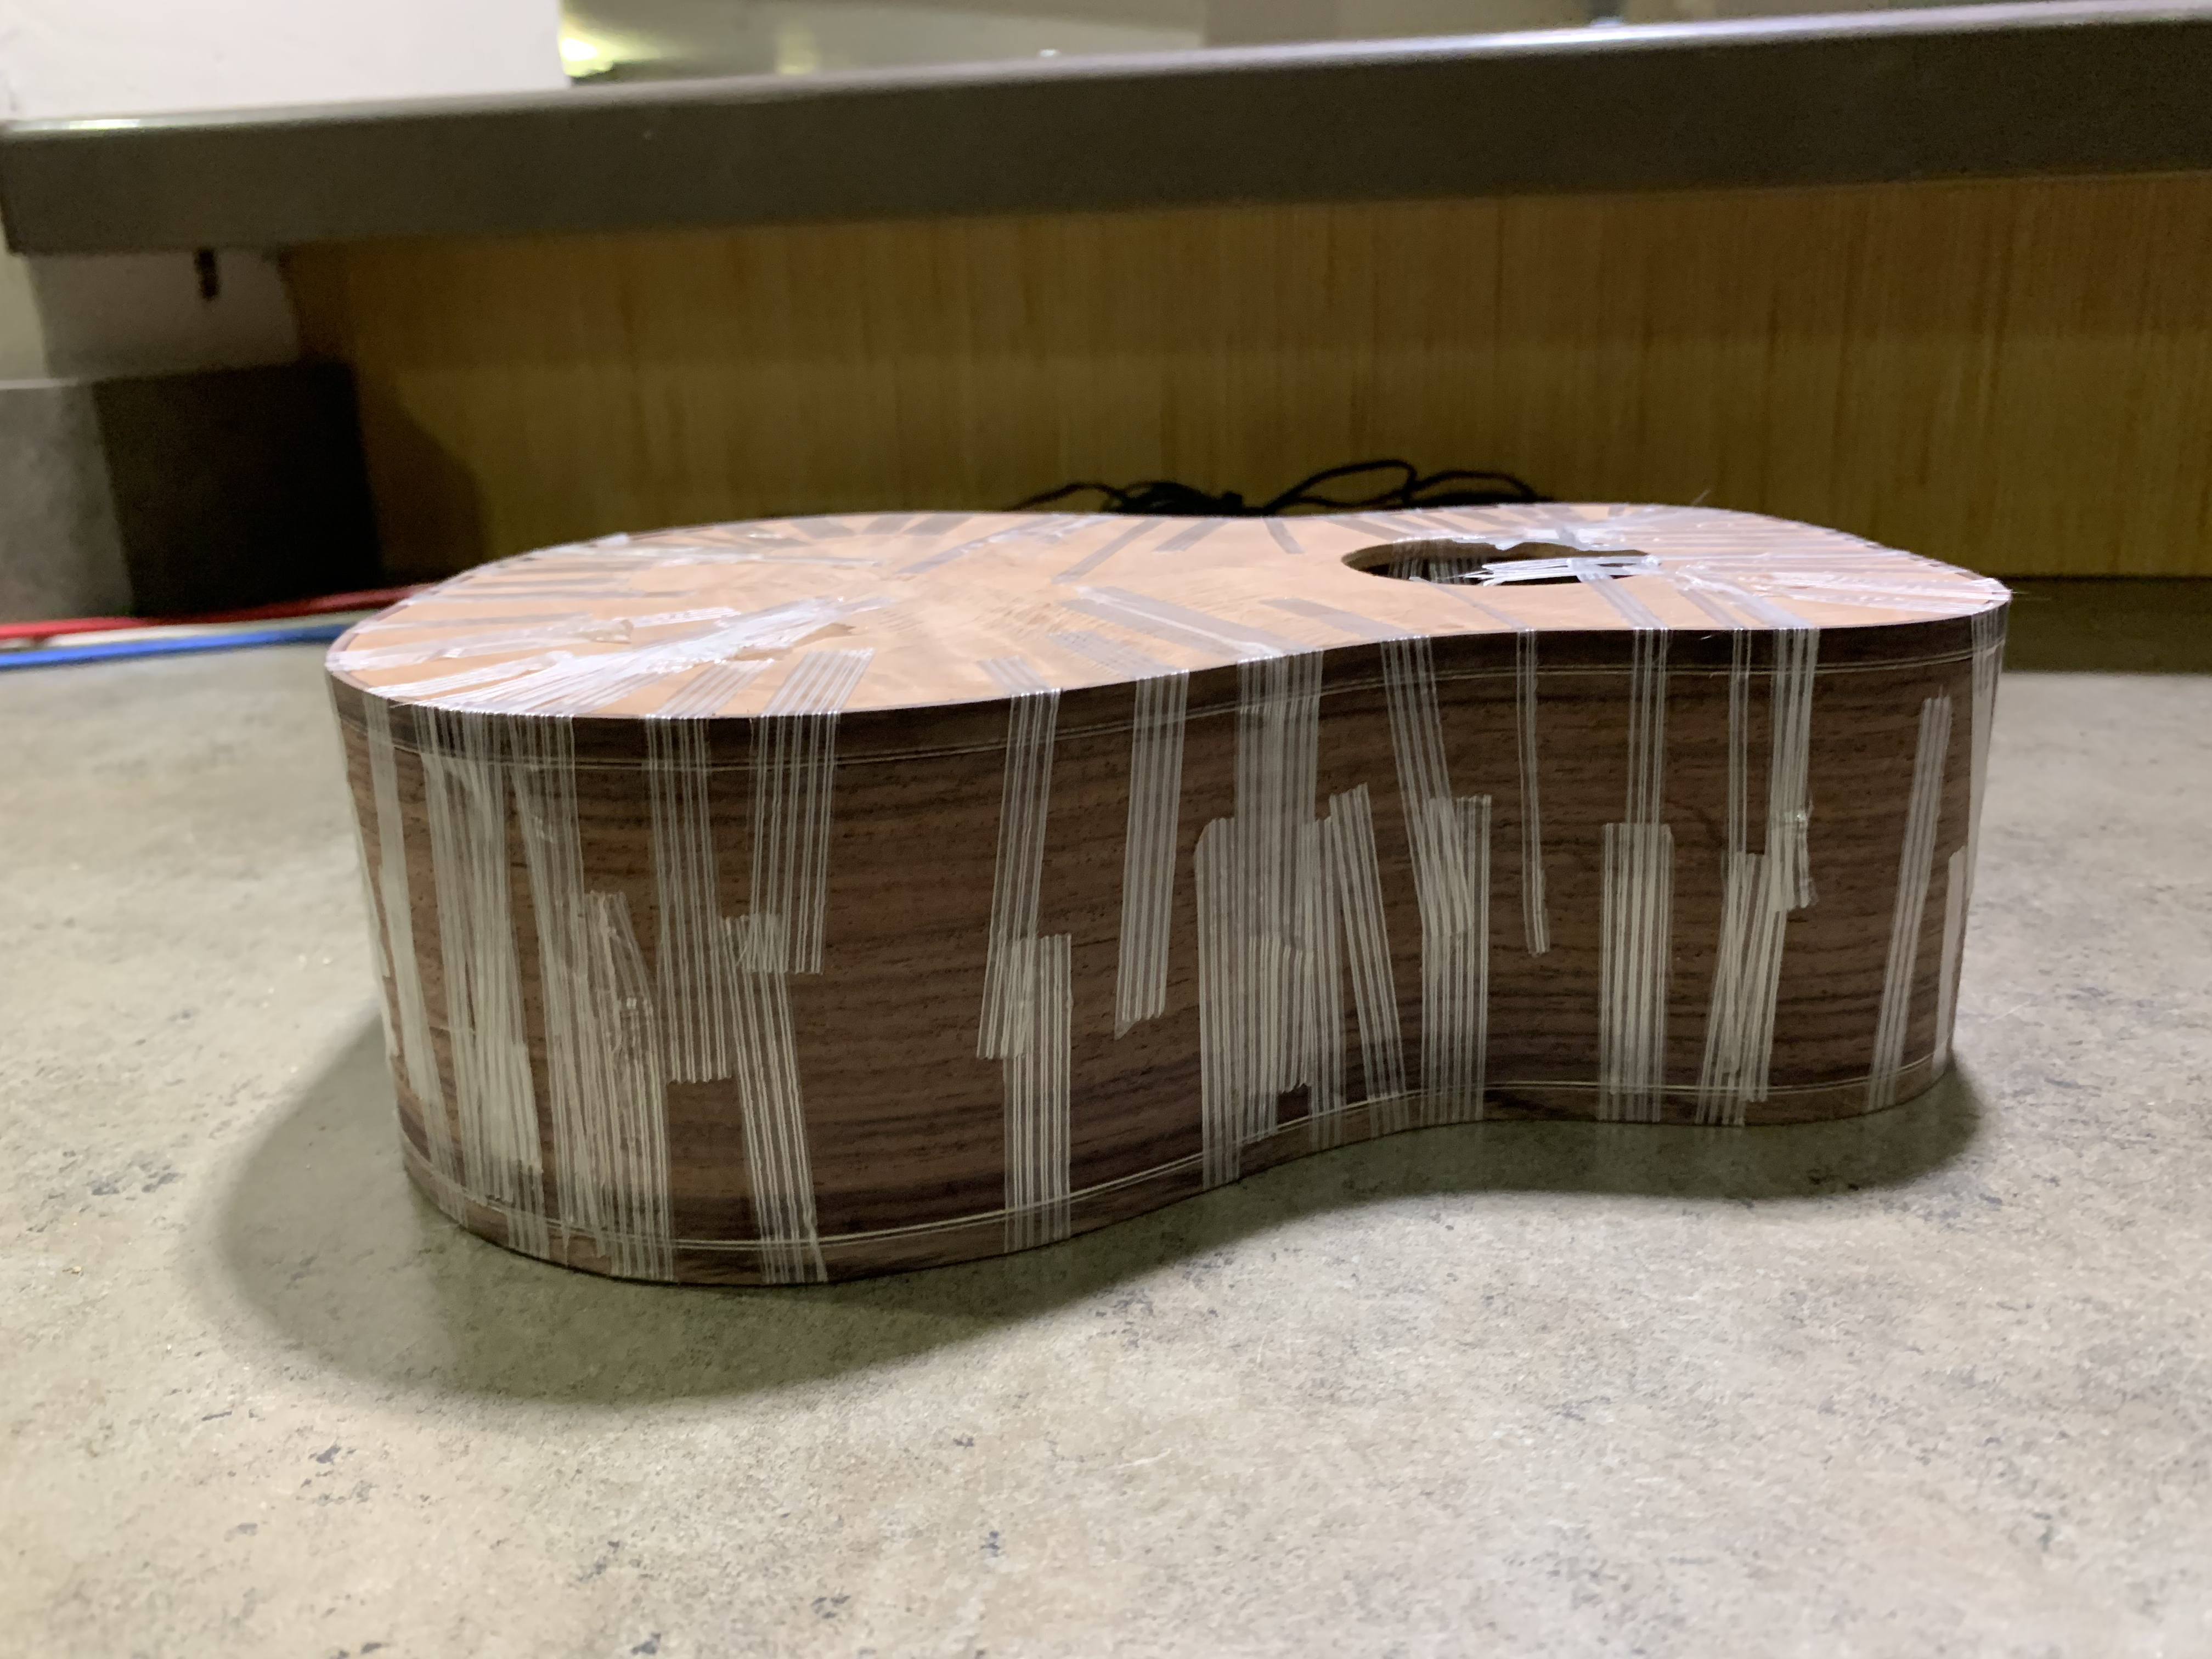
I glued the sides together using small wooden poplar blocks. My poplar blocks were slightly tall, so my ukulele ended up a little thicker than most. I installed kerf lining, to help provide more area so the top and back could be glued on and handplaned down the extra material. Then the top and back were glued to the sides to create the body of the instrument! To complete the body, I routed channels in the top and back of the body, bent rosewood bindings using the bending iron, taped them to the body using filament tape, and dropped super glue into the sides to attach them.
The Neck
The neck was cut out of raw planks of wood, two walnut (a harder wood), and one redwood (a softer wood). Immediately, it had a really nice weight to it when the raw pieces were glued together.
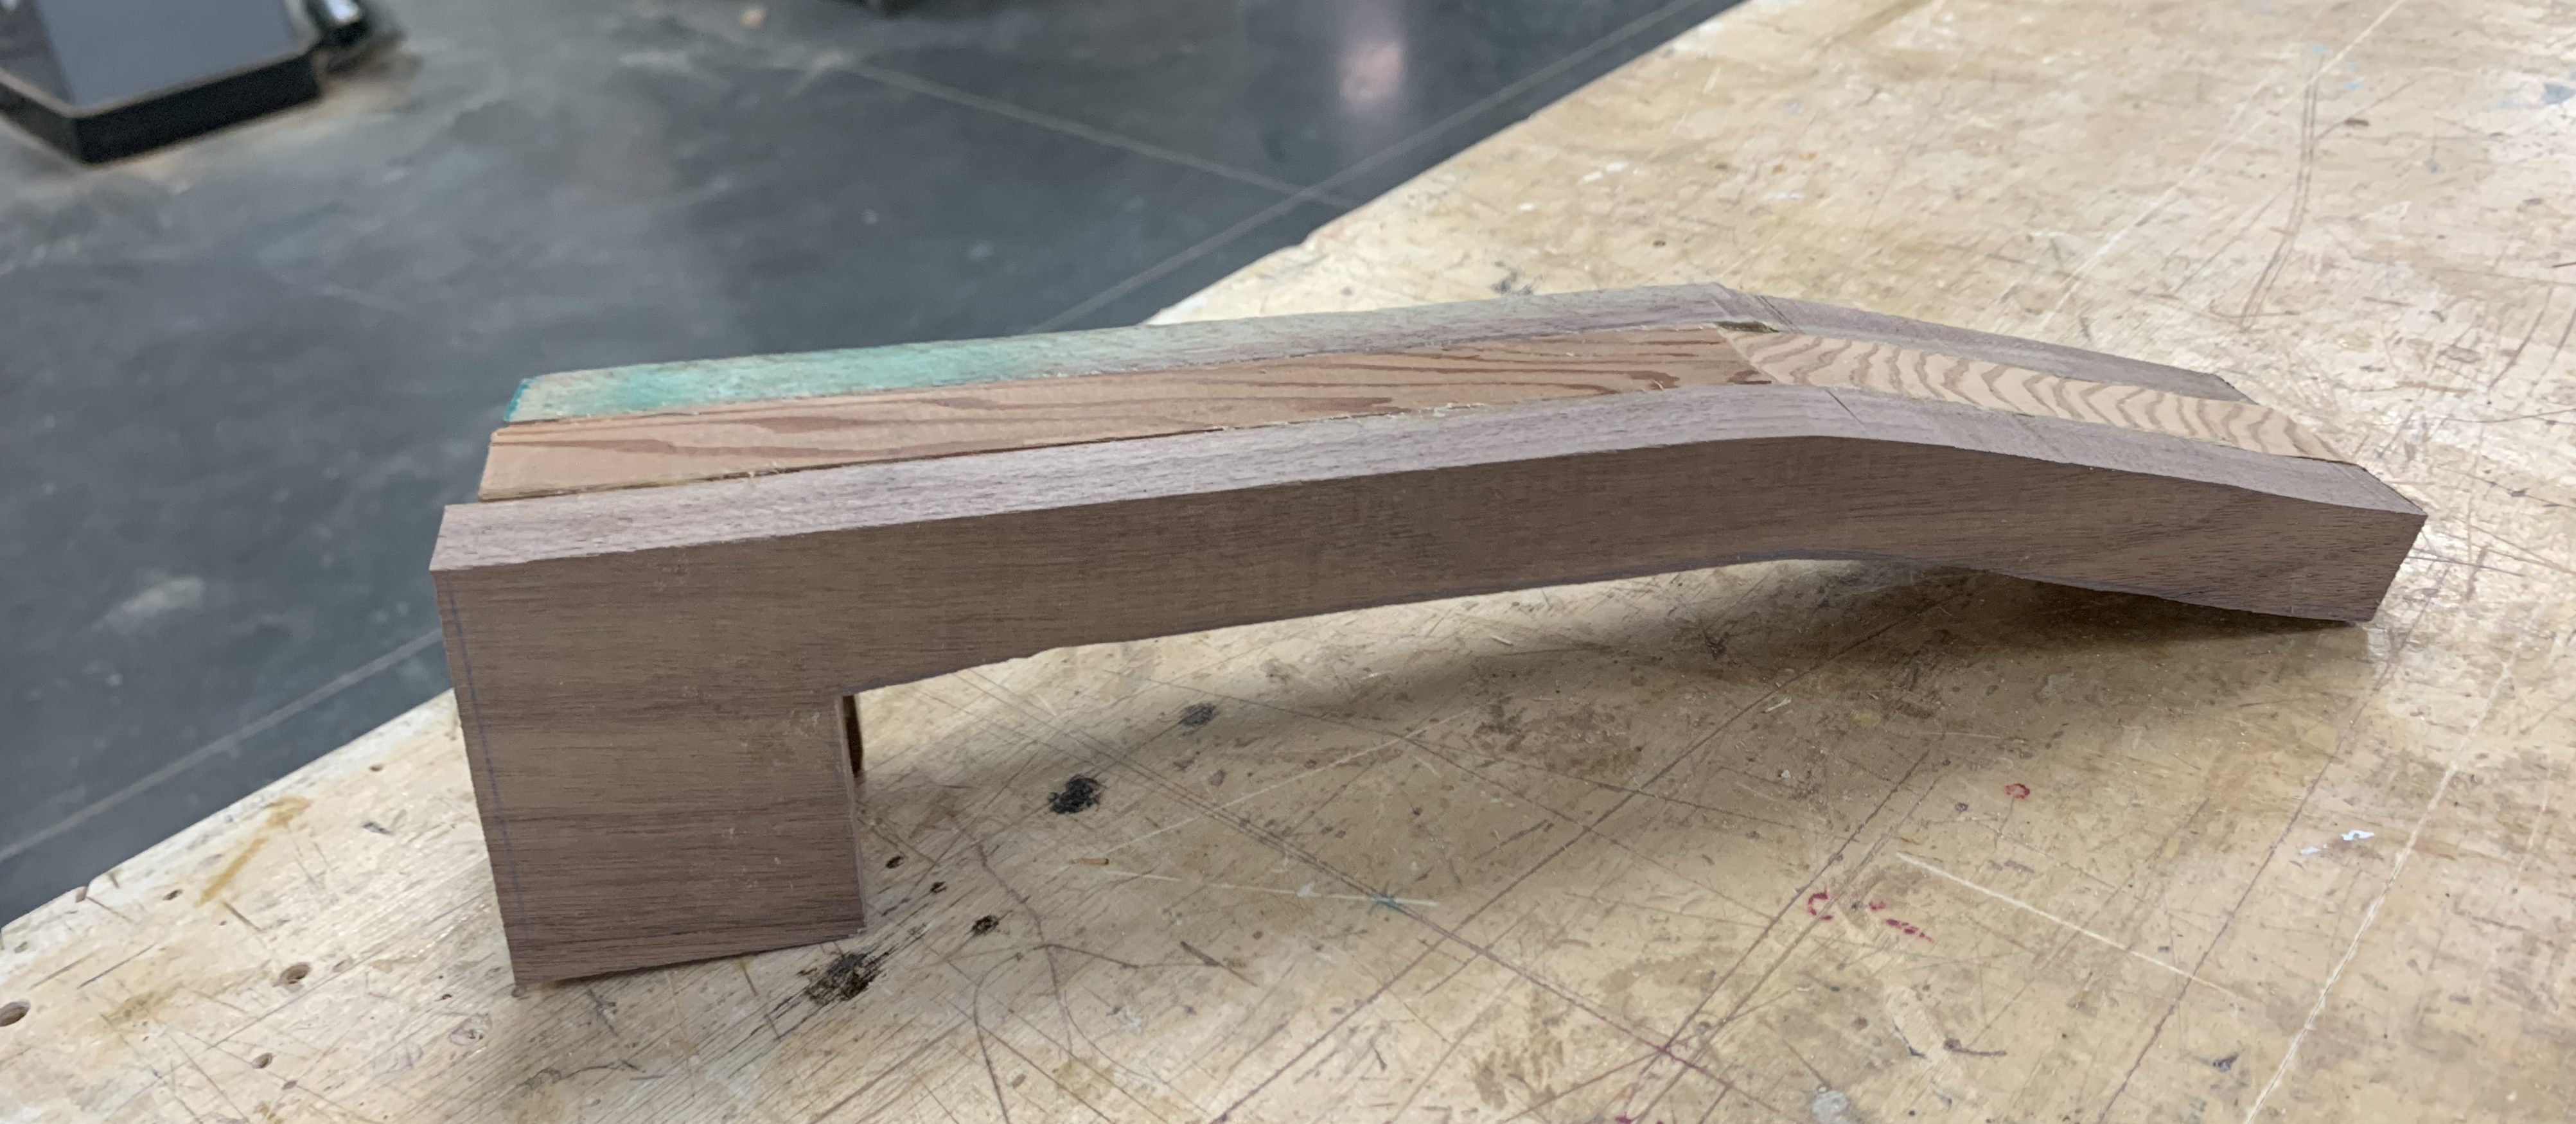
Next, a dovetail joint was cut (using a router) in the body and the neck to join the two components.
The neck blank was smoothed and roughly shaped using the bandsaw and then hand-shaped using a rasp and sandpaper.
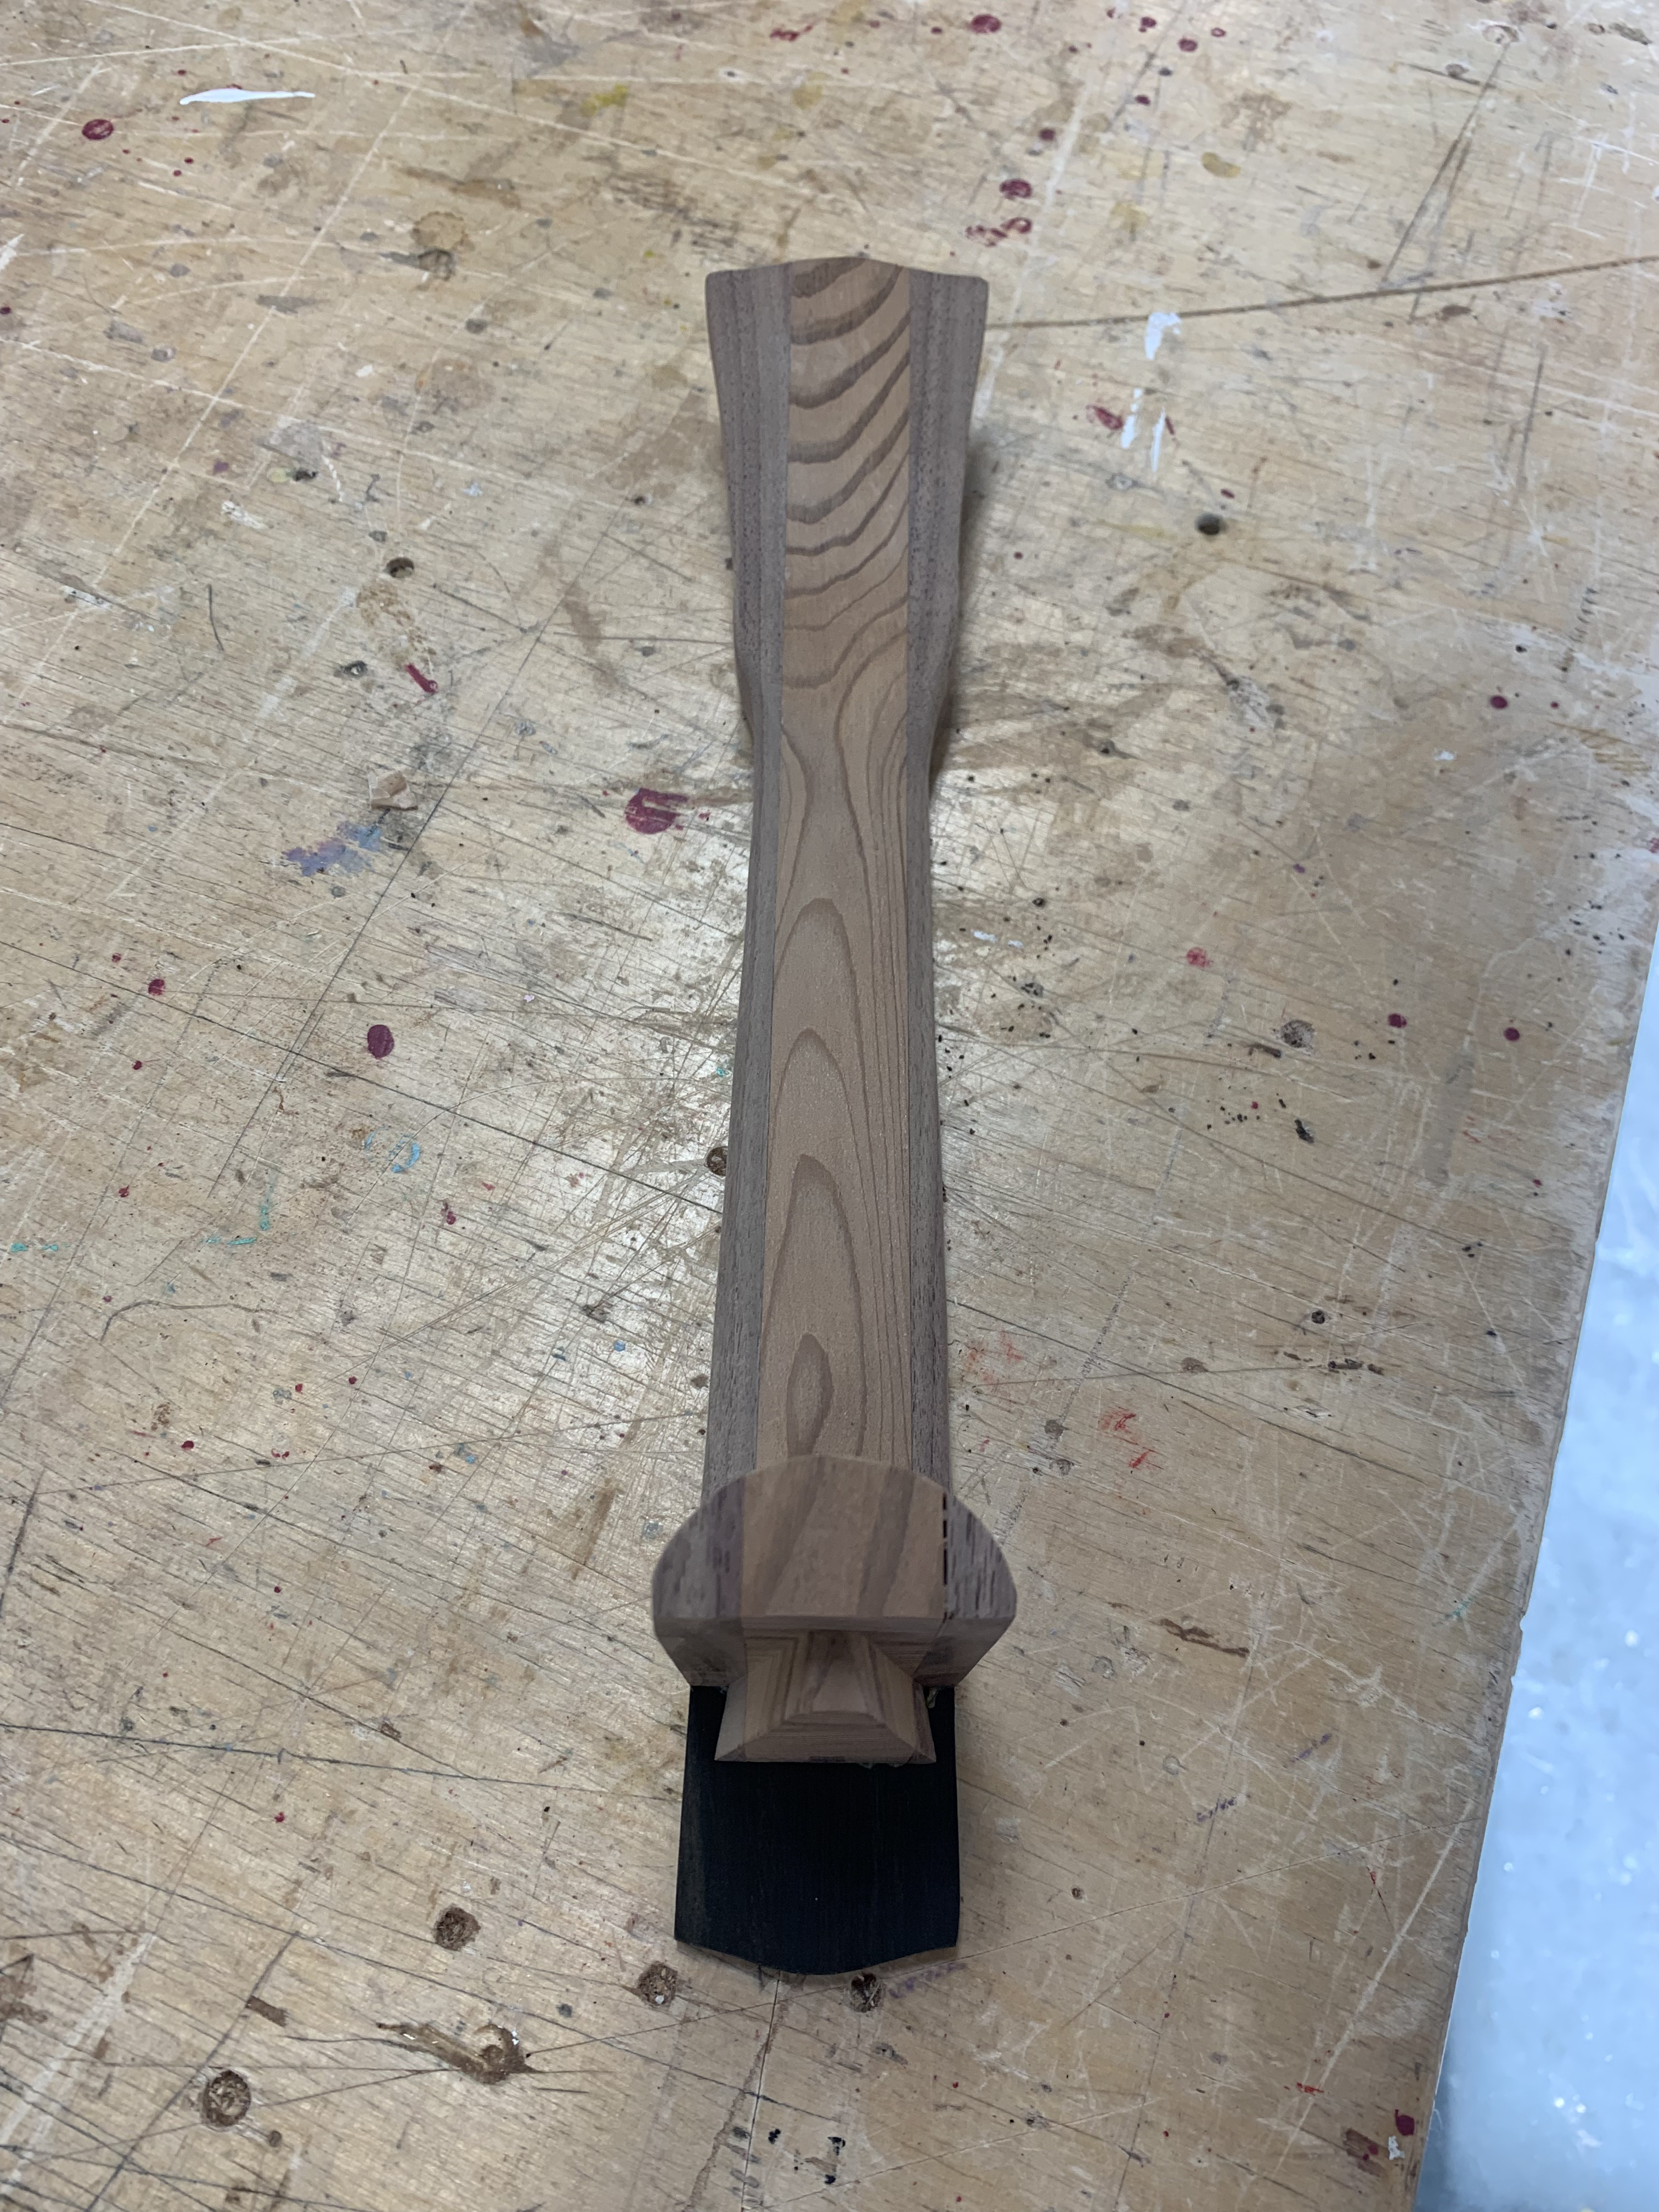
The fretboard was cut using an acrylic template and a small table saw. I glued the fretboard and the headstock plate (also made from my initial broken soundboard!) to my neck. I cut the holes for the tuners using a drillpress and installed the tuners.
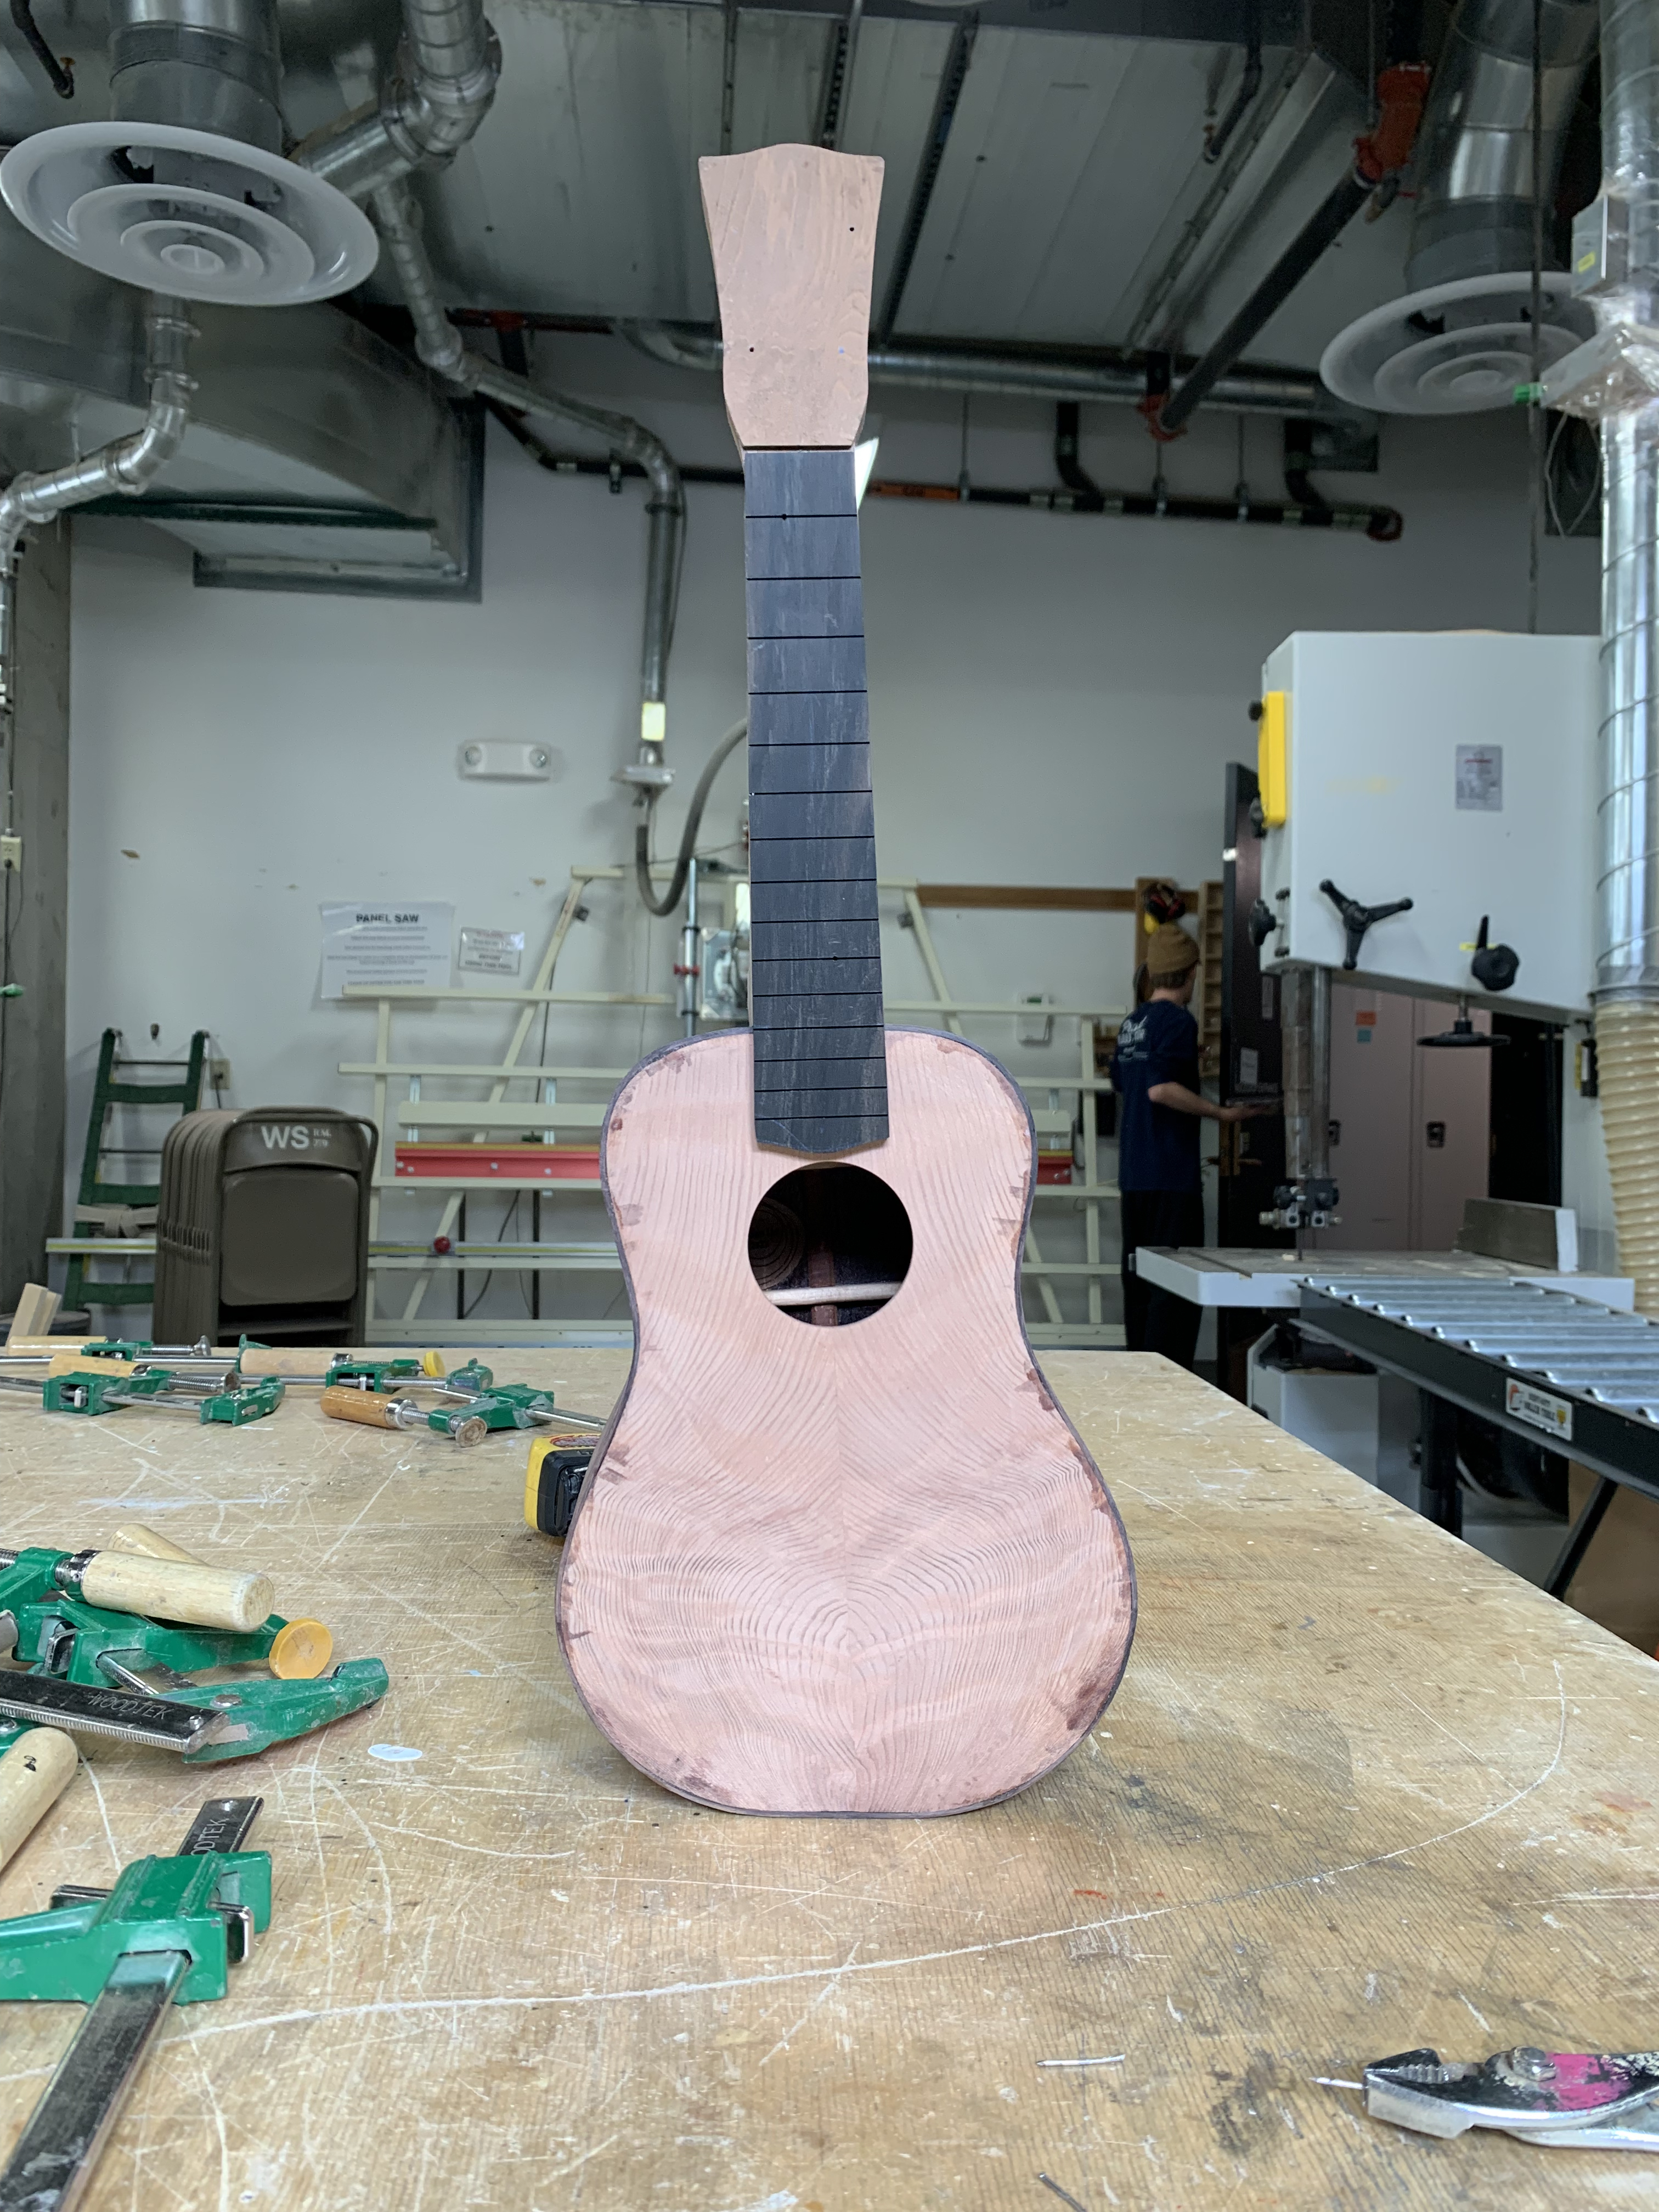
At this point, the neck and body could be joined! I gave the body a finishing sand using a palm sander and some fine grit sandpaper and glued them together. Next, I installed the frets using a mallet and wire clippers, and smoothed down the metal. This part was incredibly scary. Then I shaped and glued the bridge on. The next step was to angle the bone pieces that made the nut and the bridge and cut slots in them for the strings using a file.
Finally, the ukulele was finished using Danish Oil, which was chosen to protect the wood while still giving it a very natural appearance.
Built as part of “String Instrument Building”, an open woodshop style class at CU Boulder.